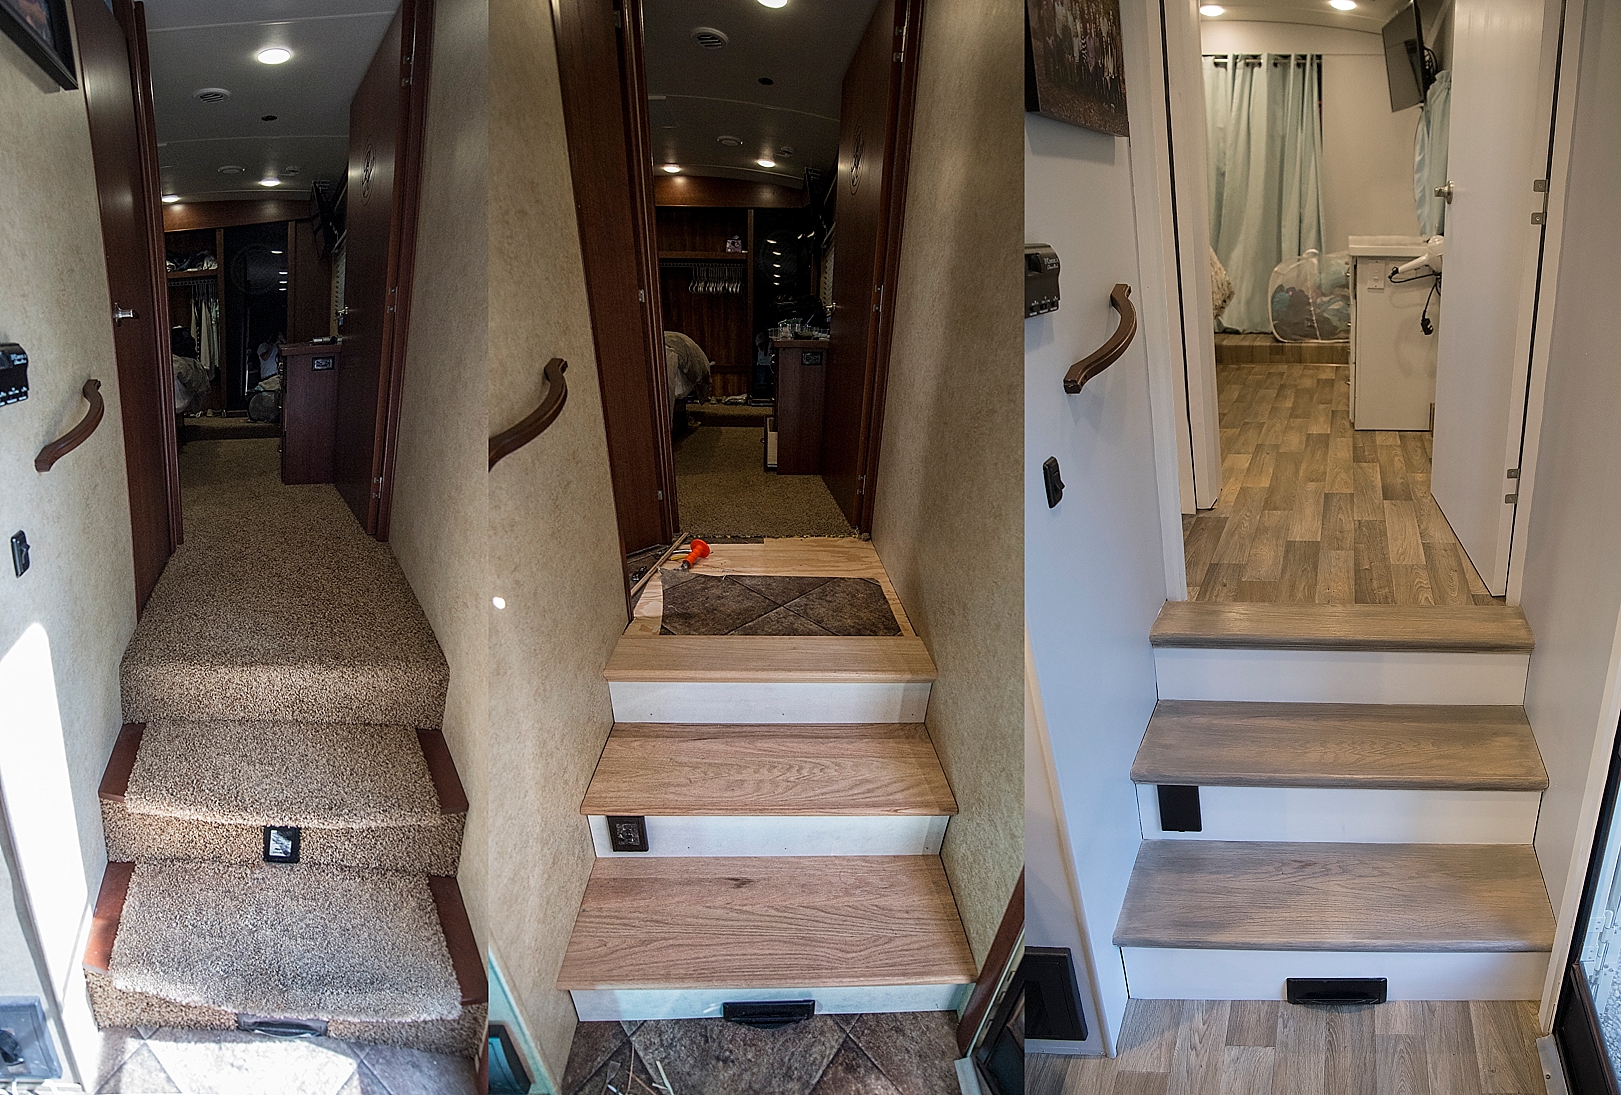
One of the first things to go on our new RV was the carpet on the stairs. I know why they put it there, because it is cost effective; however what a place to have it. RIGHT when you walk in from the great outdoors. Whose idea was that? Anyway, the removal of the carpet proved to be a little more involved, but the finished product is pretty solid and (can I admit… Gorgeous)
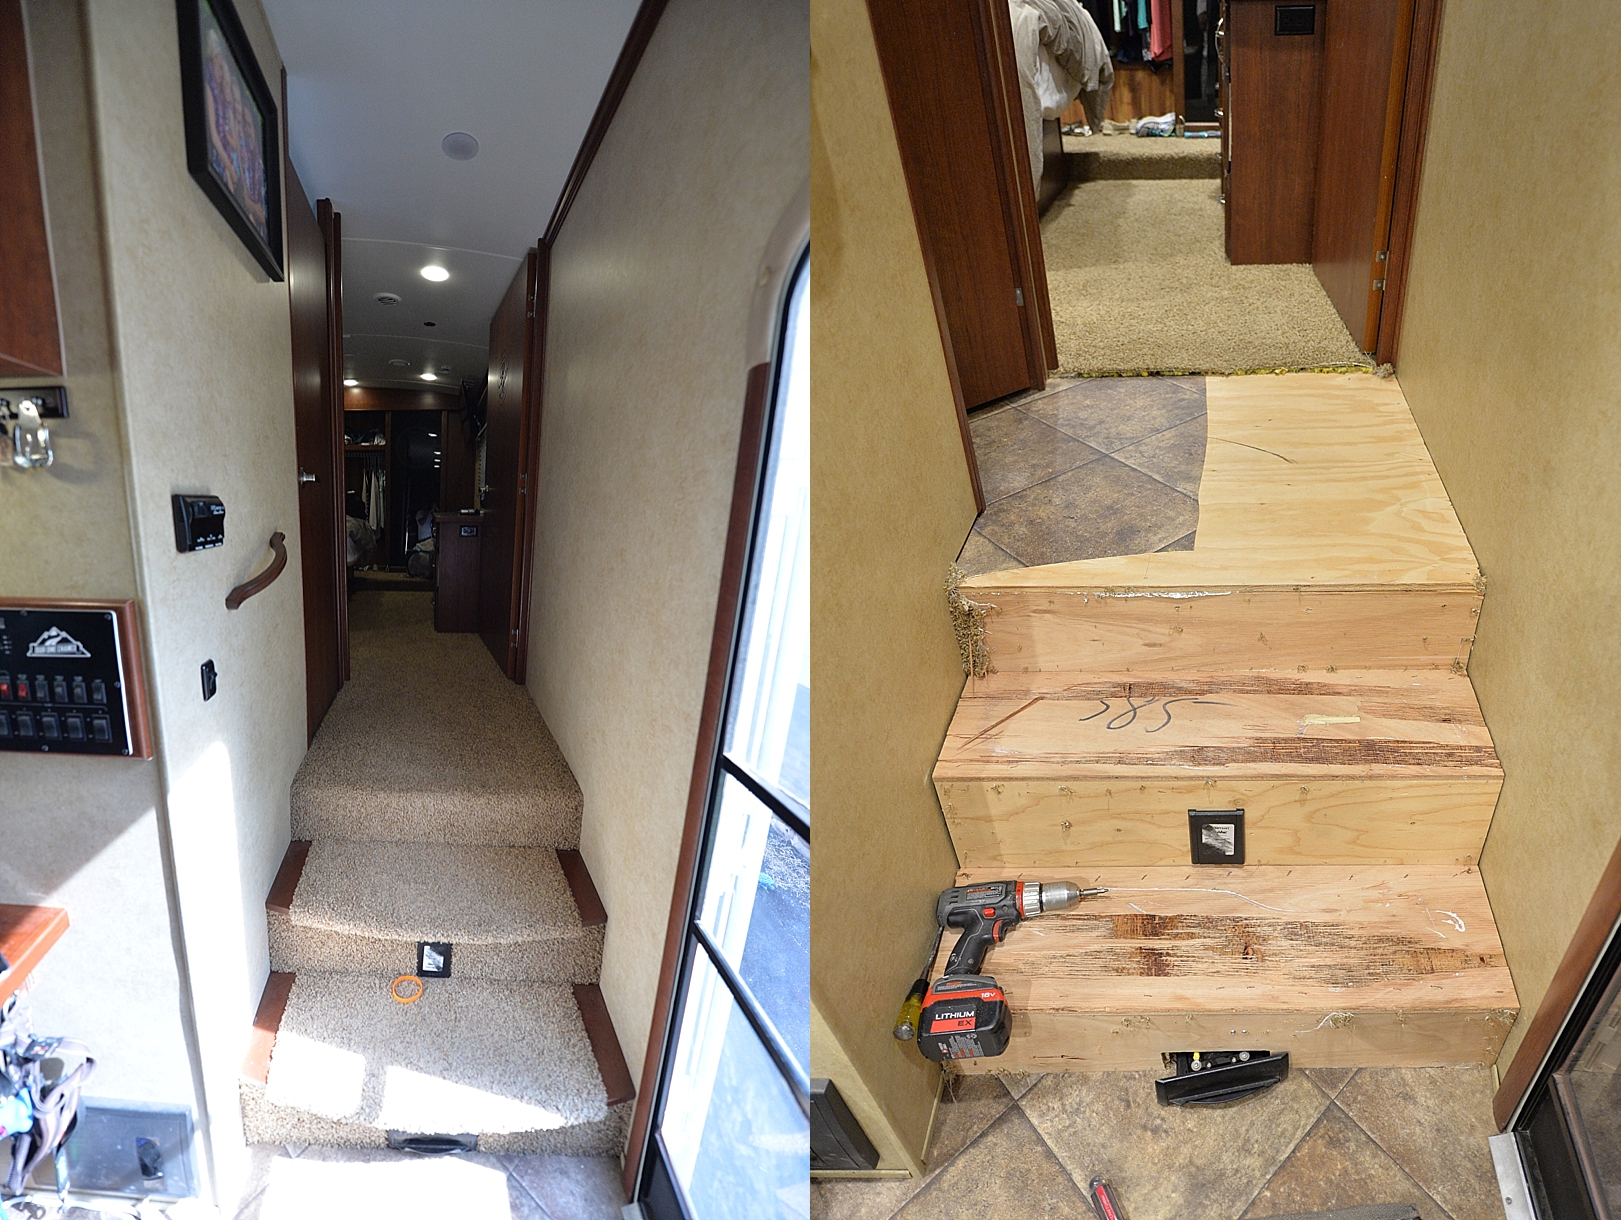
So the first step was pulling the stapled carpet off the plywood. It was a little harder than I expected because of the 1300 staples. 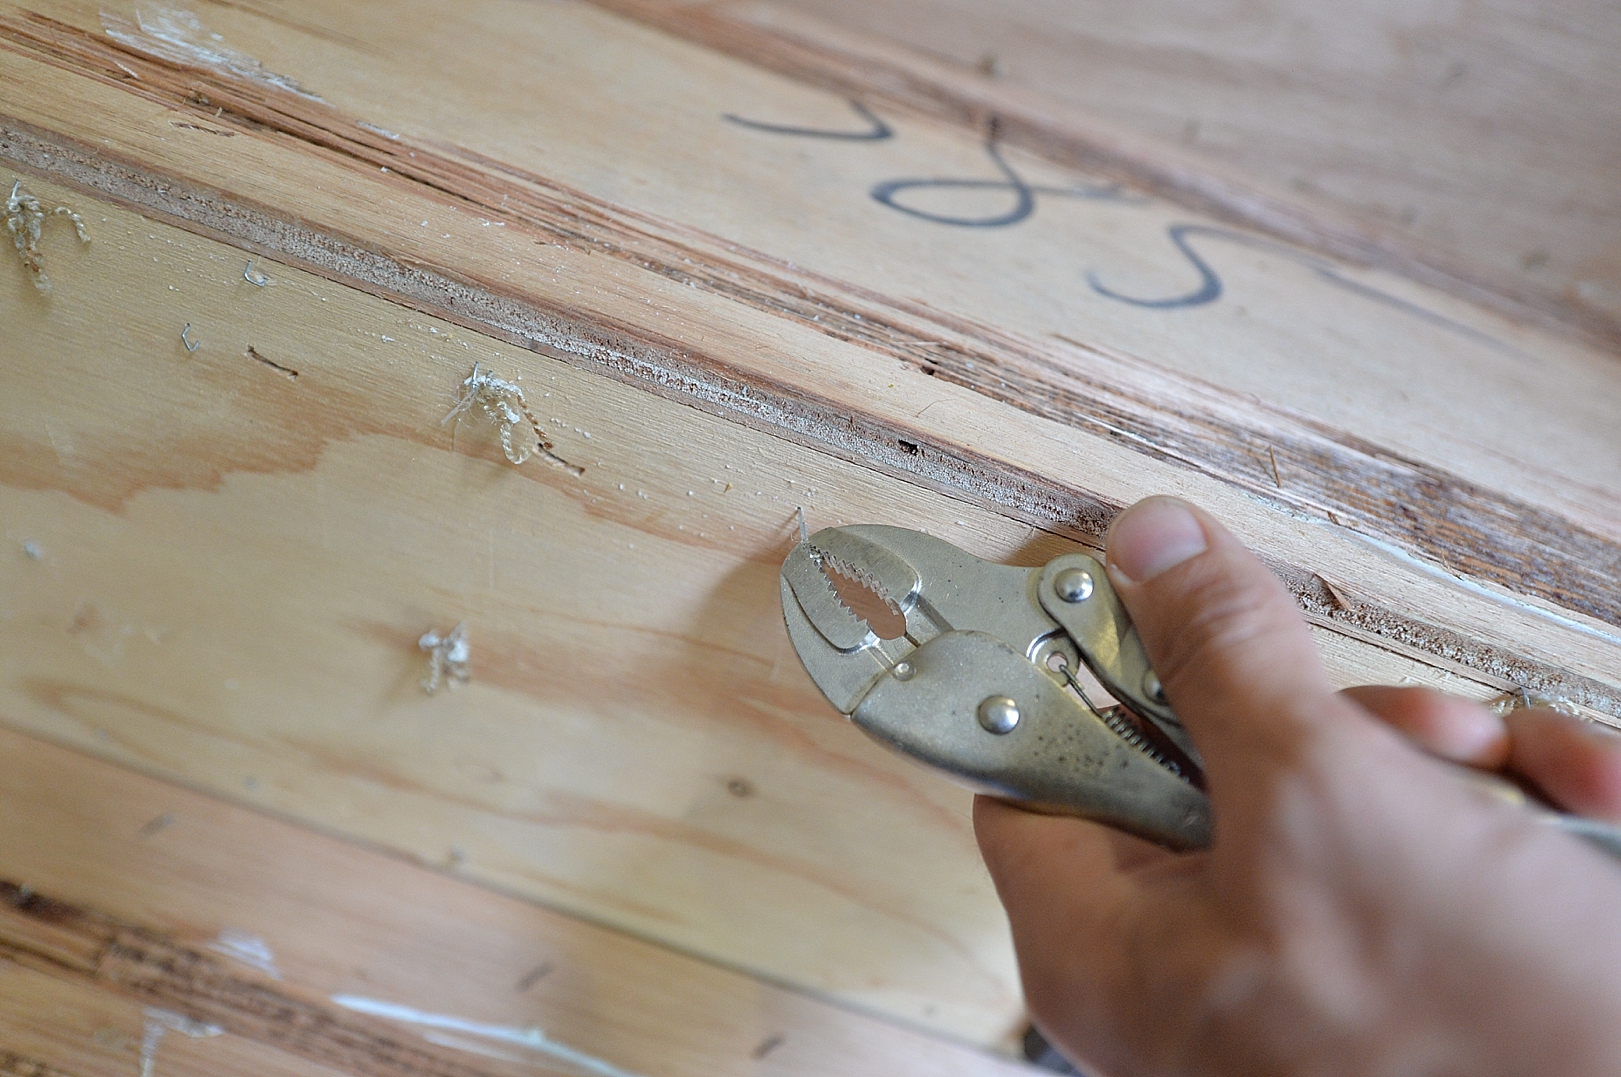
I found the easiest thing to do to remove the staples was to use a ViceGrip tool and pull them one at a time. It took a while, but worth it and busted less knuckles this way.
As I got to taking staples off, I realized that the stairs were a little squishy because the shell/frame was only built on 3/8″ plywood and a couple of furring strips. So I decided to build a 2″x4″ frame for the weakest middle step. Then knowing I needed to beef up the plywood treads, I just opted to rip off the treads all together and replace them with solid Oak residential house treads. 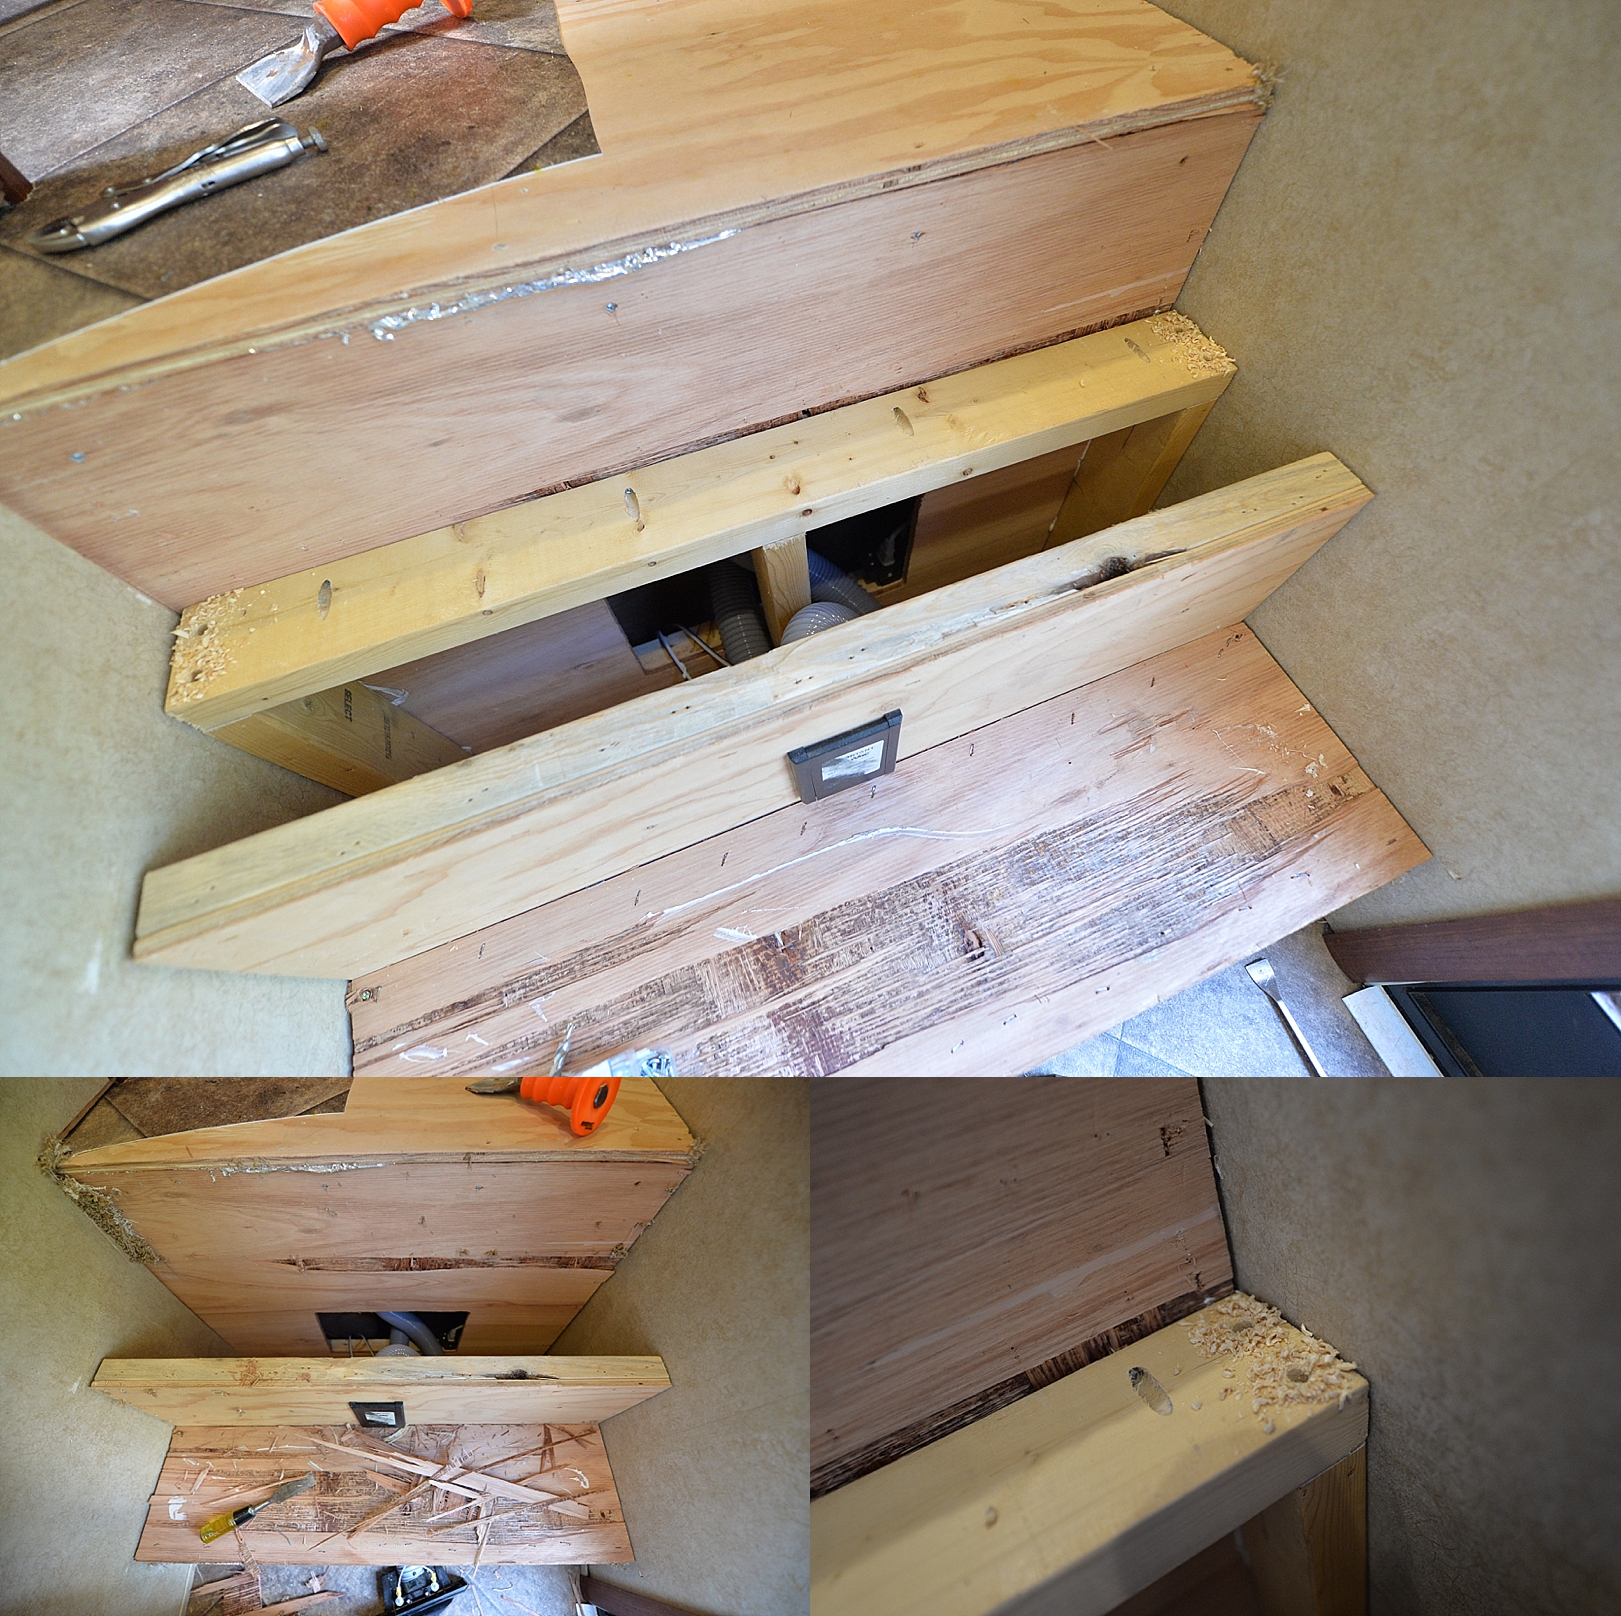
In an effort to not put too many nails into the surface, I used a TON of Liquid Nails to glue down the majority of the surfaces. Starting at the bottom and working my way each riser. 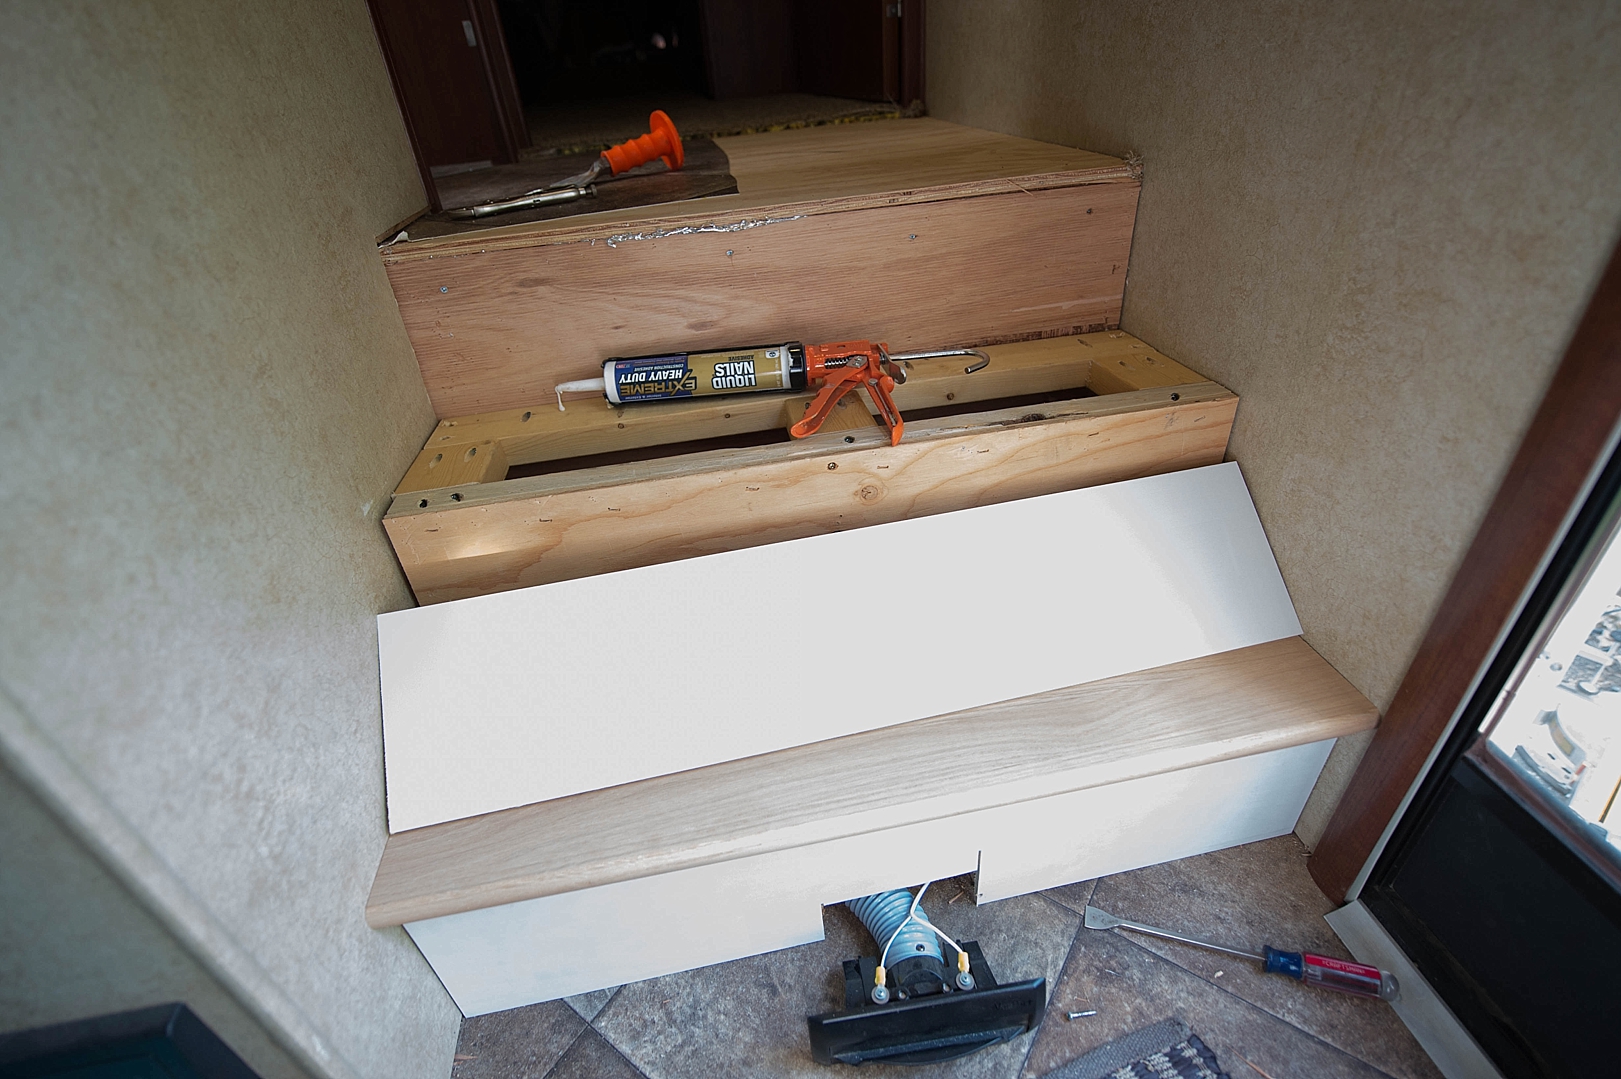

Above is the finished installation, without paint or stain. I decided to wait until the bedroom remodel was completed to decide what color to paint the stairs, or stain or whatever. Since we ultimately settled in on a distressed white washed vinyl flooring, my ultimate goal was to try and match the plain oak treads to the vinyl.
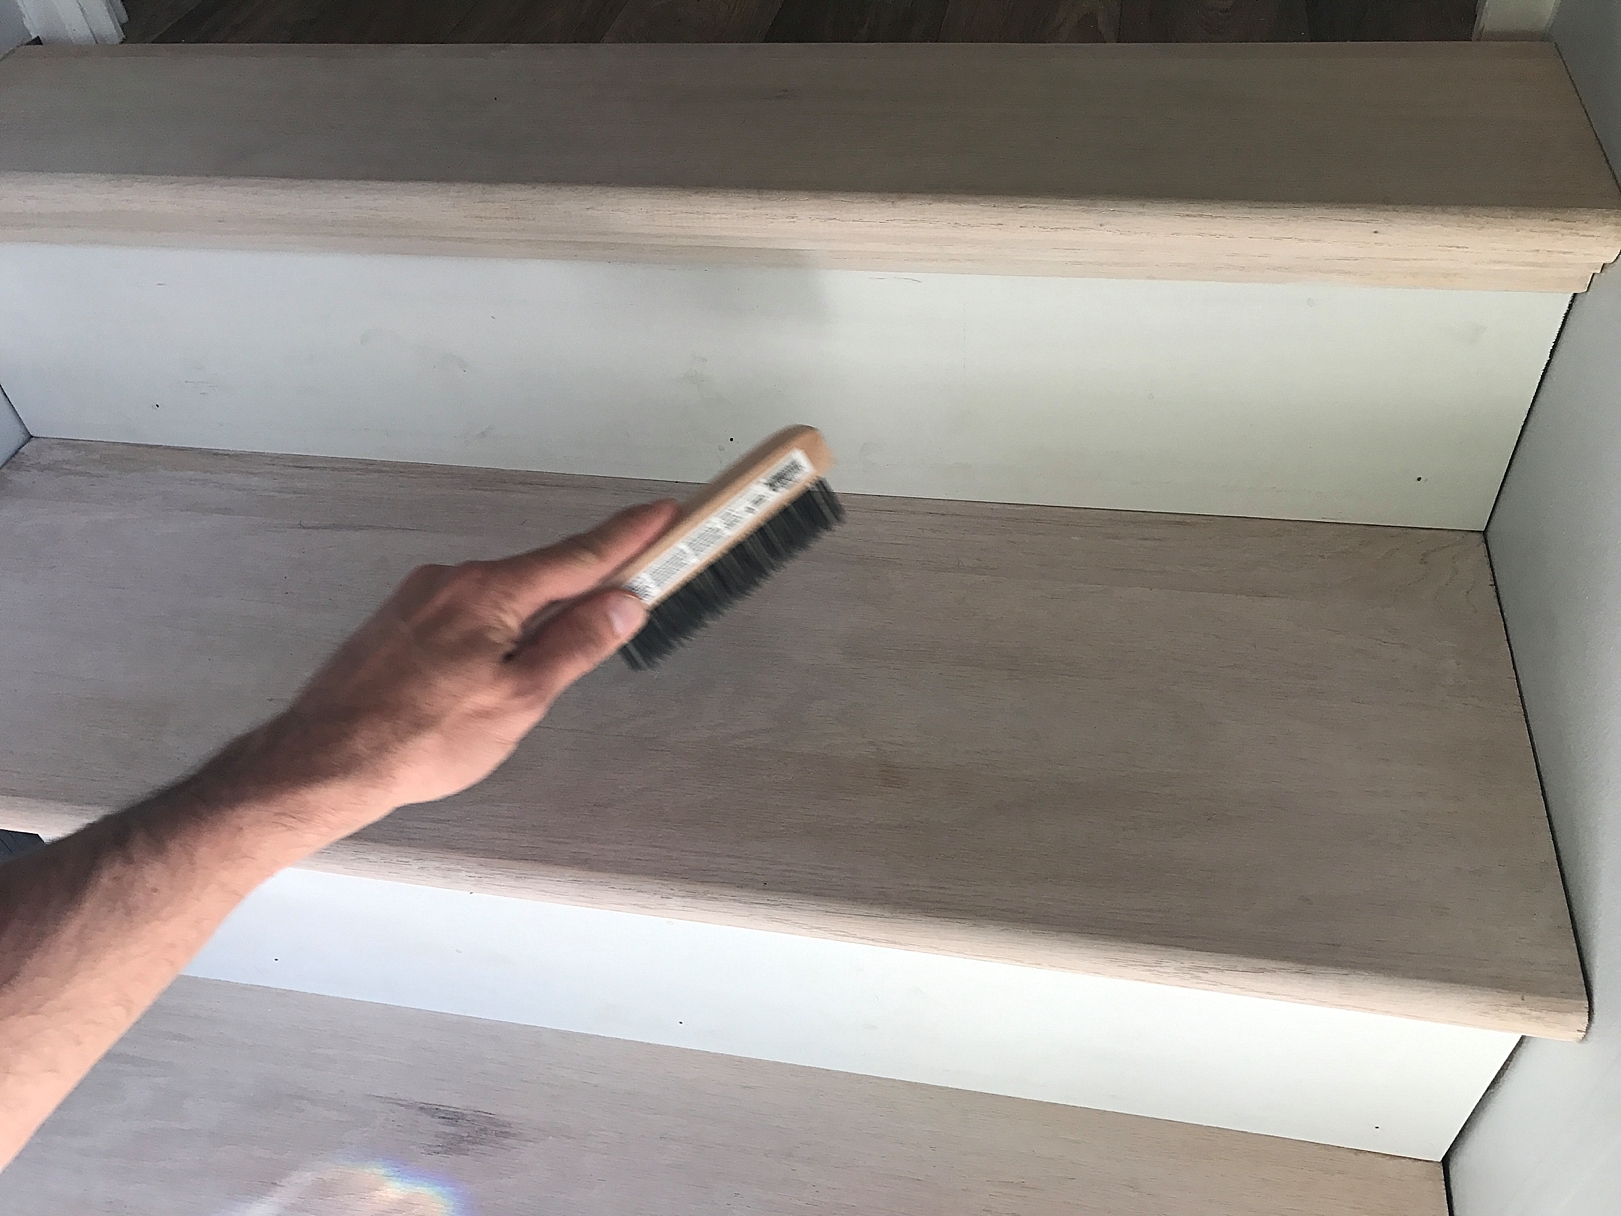
I took about 4 spoonfuls of white paint and a cup of water and made a white wash to apply on the stairs. I applied the paint wash with a brush and wiped off the excess with rag. Once it dried, I brushed the stairs along the grain with a wire brush. The hopes here were to open up the softest pores of the wood to accept a darker color. Then I used the same recipe and made a black wash out of $.50 cent Oops paint. 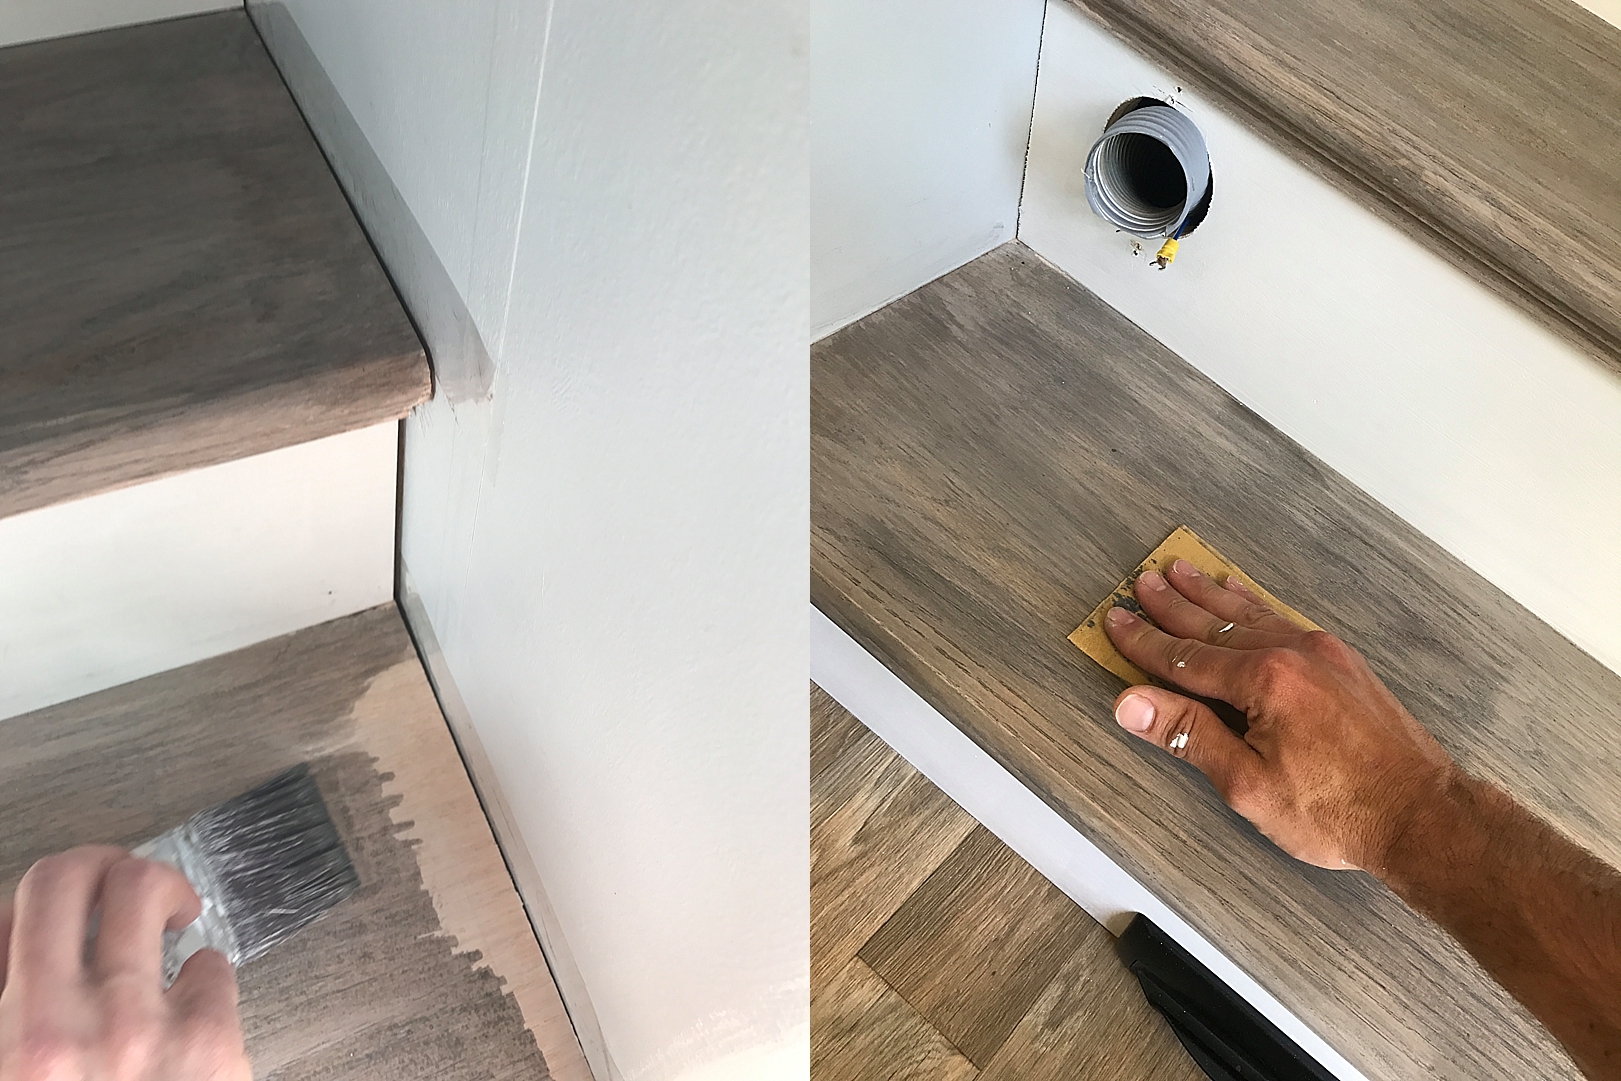
Again with the brush and rag to pick up the excess. I did this twice. Then the next day I sanded out some spots to help reveal some natural color in the highlights. This last step REALLY made the stairs look most like the floor’s warm undertones. After the cleaning the dust off, I applied a few coats of Butchers wax to protect the stairs and as you can see… they came out pretty amazing.