
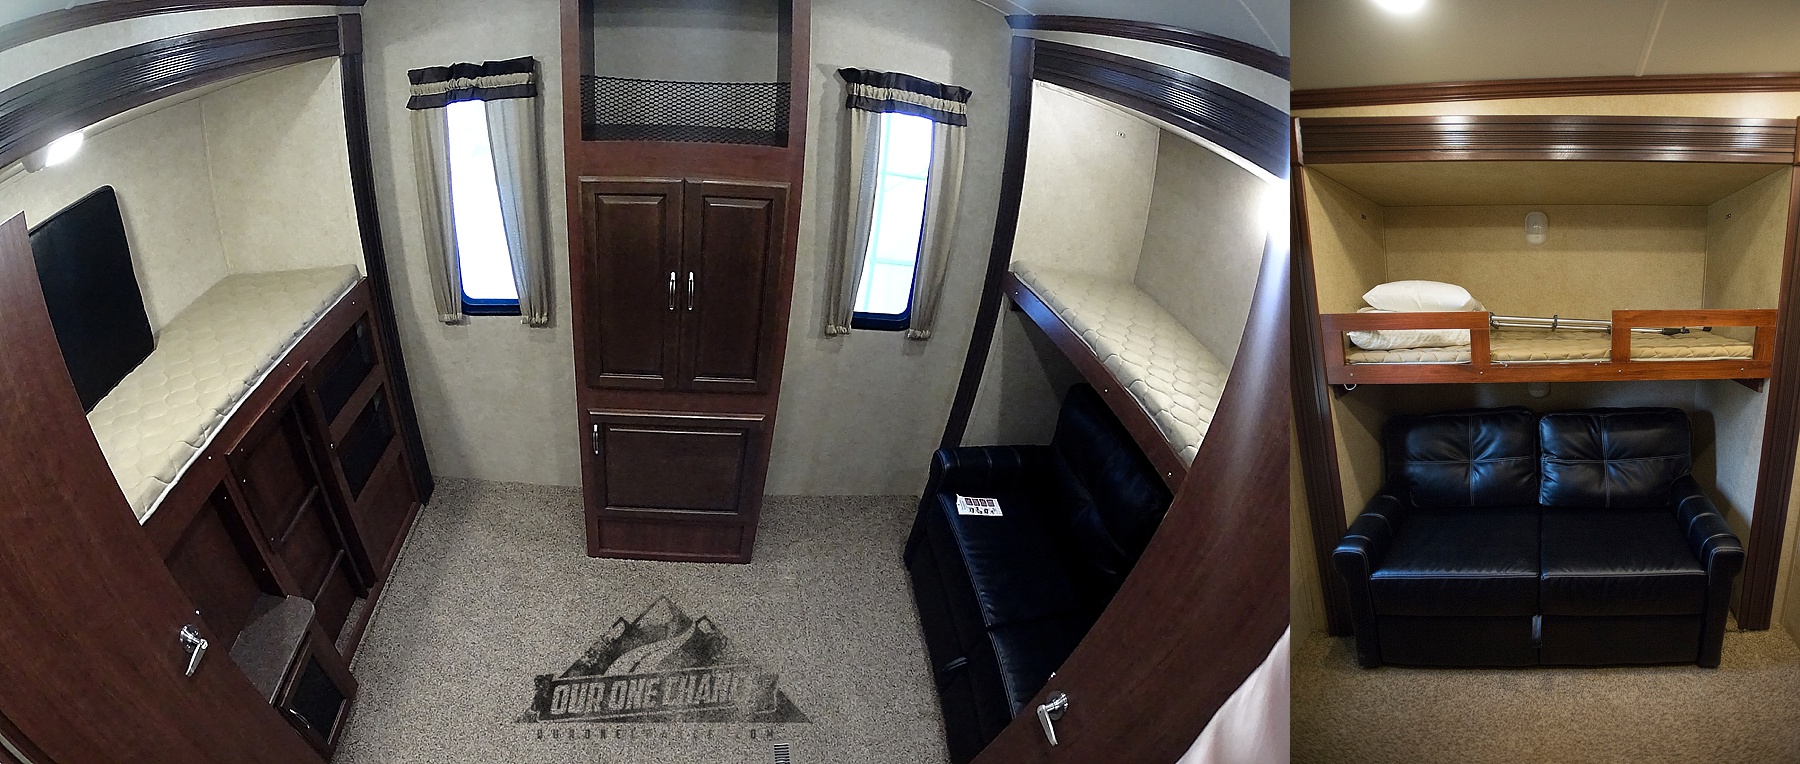
One of the unnecessary items we quickly noted when shopping for our RV was the extra couch in the girls’ bunk room. In our earlier post you saw that we immediately knew that was going to go somewhere else and it did. Click here to view that post. After I built the railings for the bunk beds
I could start wrapping my head around what to do with the space once the couch was moved.
We thought about putting in cubbies for the girls’ stuff, but that would require some sort of strap system to keep things from flying around as we drove. We thought of simple shelves with some type of straps, but the same problem existed. Things needed to be secured in order for any idea to be successful and seemed to consume a lot of my time thinking about. 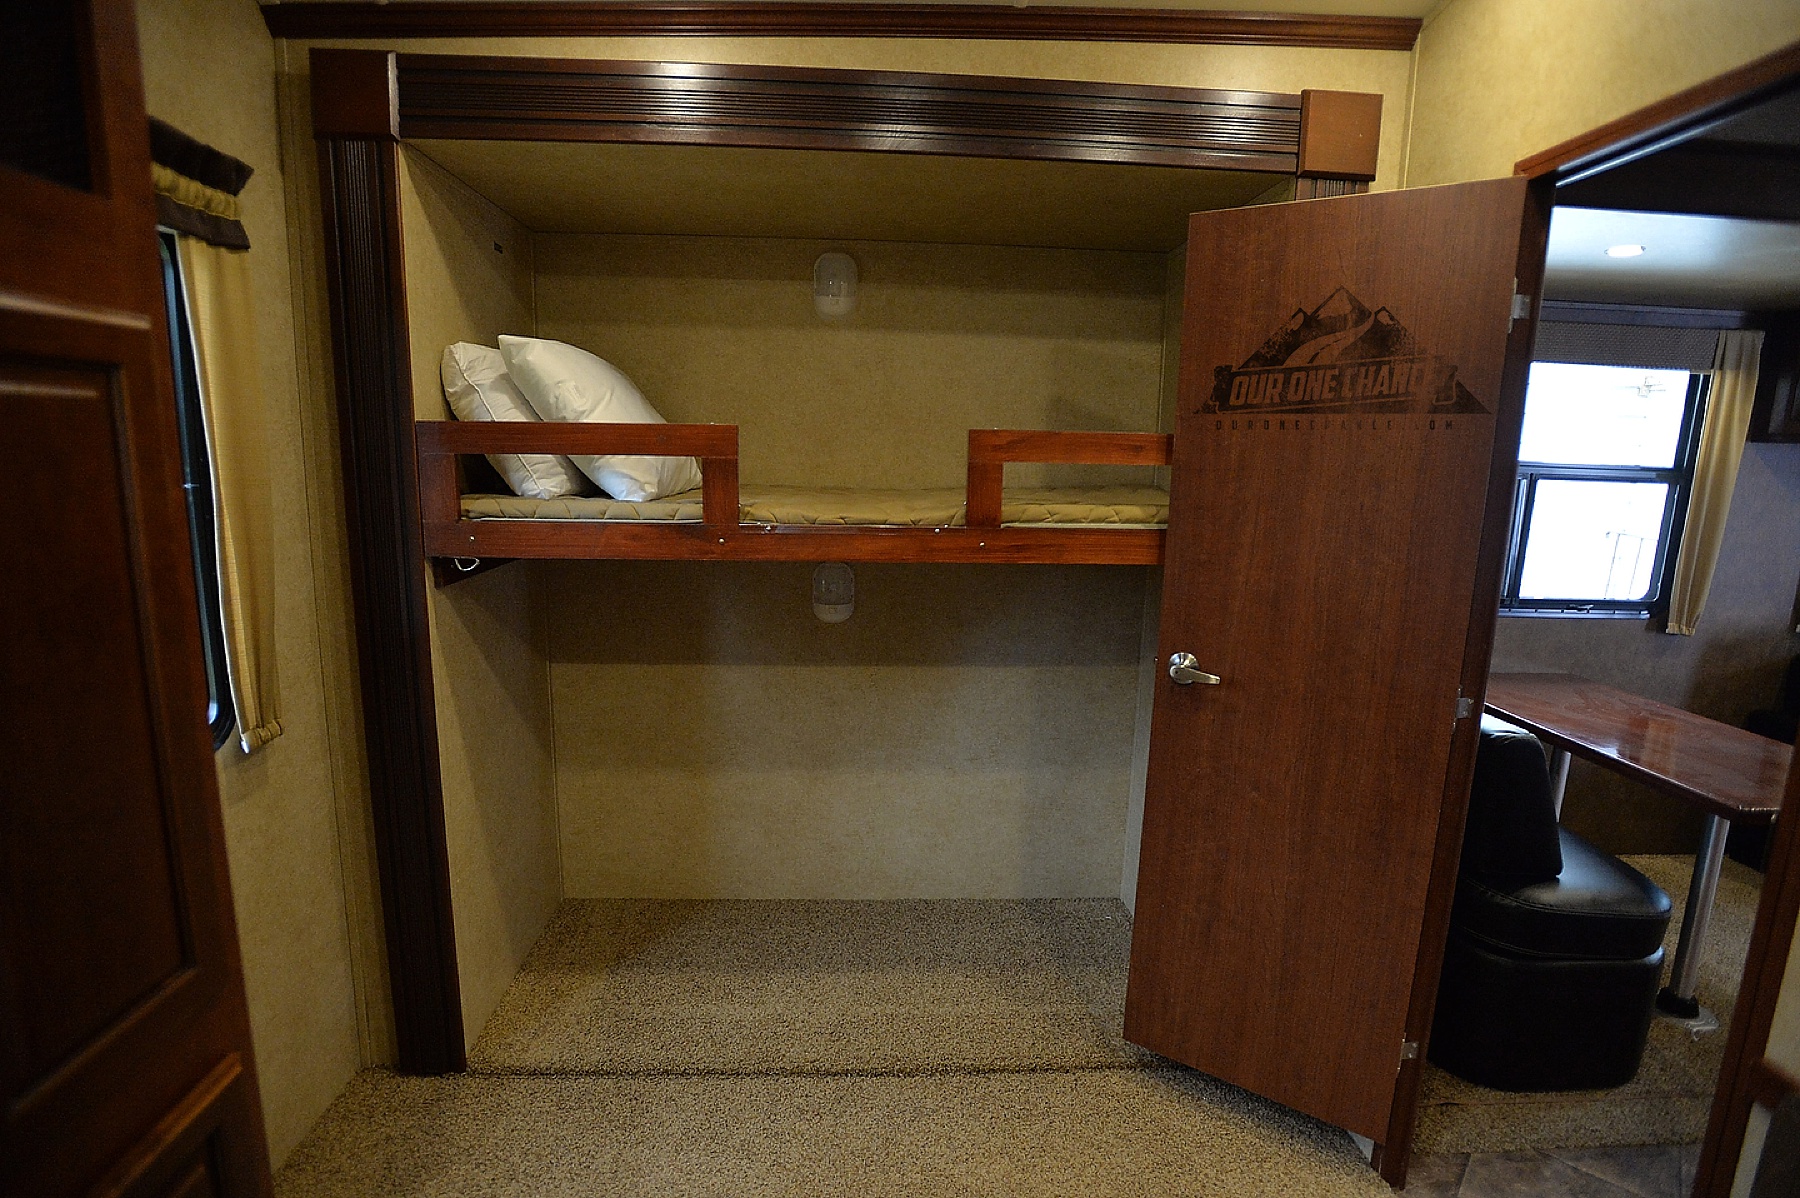
Ultimately I settled in on the concept of building some cabinets for the space. For several months I thought about what they would look like and what they should fit, but ultimately; I just ran out of time and had to act quickly to get something in before the late fall. It hit me one day while walking around my neighborhood Lowes that I can buy those cheap Oak faced kitchen cabinets and try to stain match them the best I could. With lots of measuring and reconfiguring we ended up picking up these. …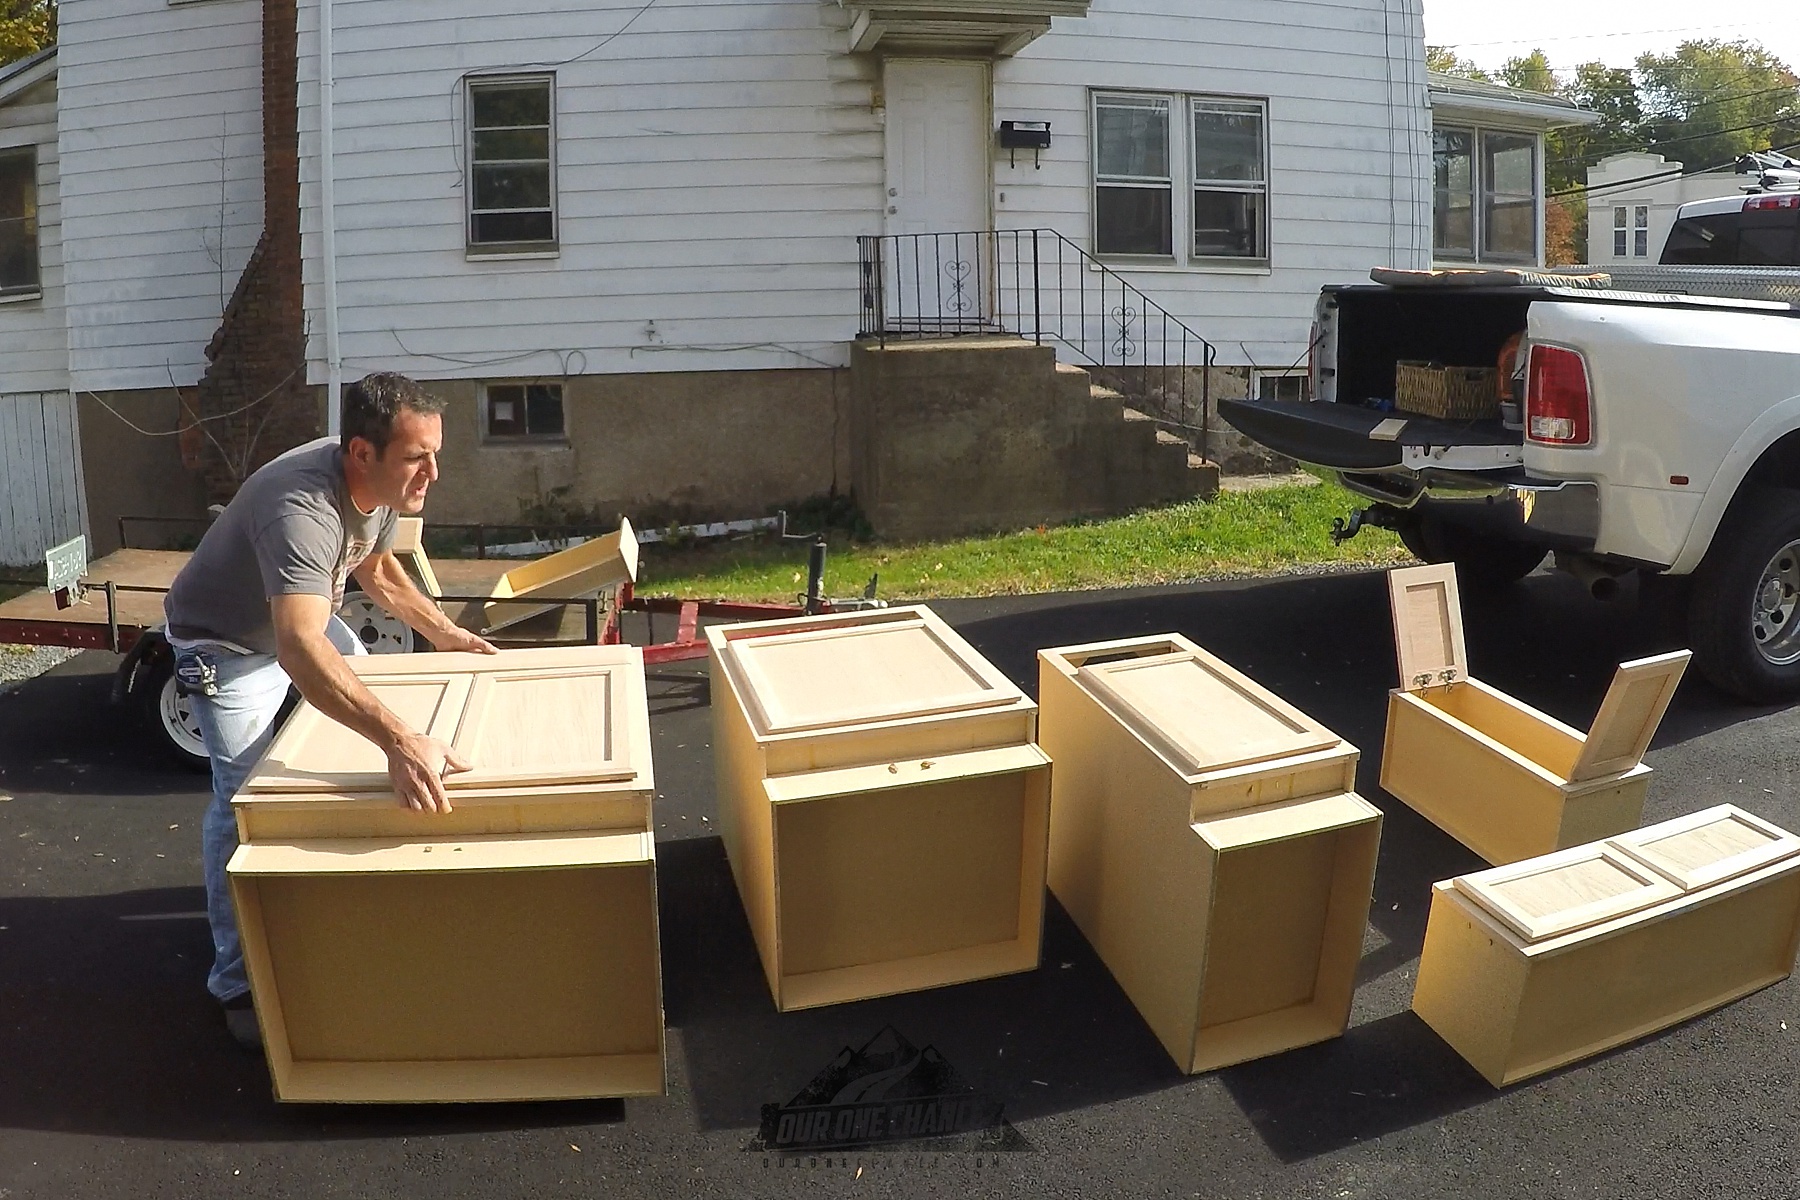
Watch the time lapse video of the staining process.
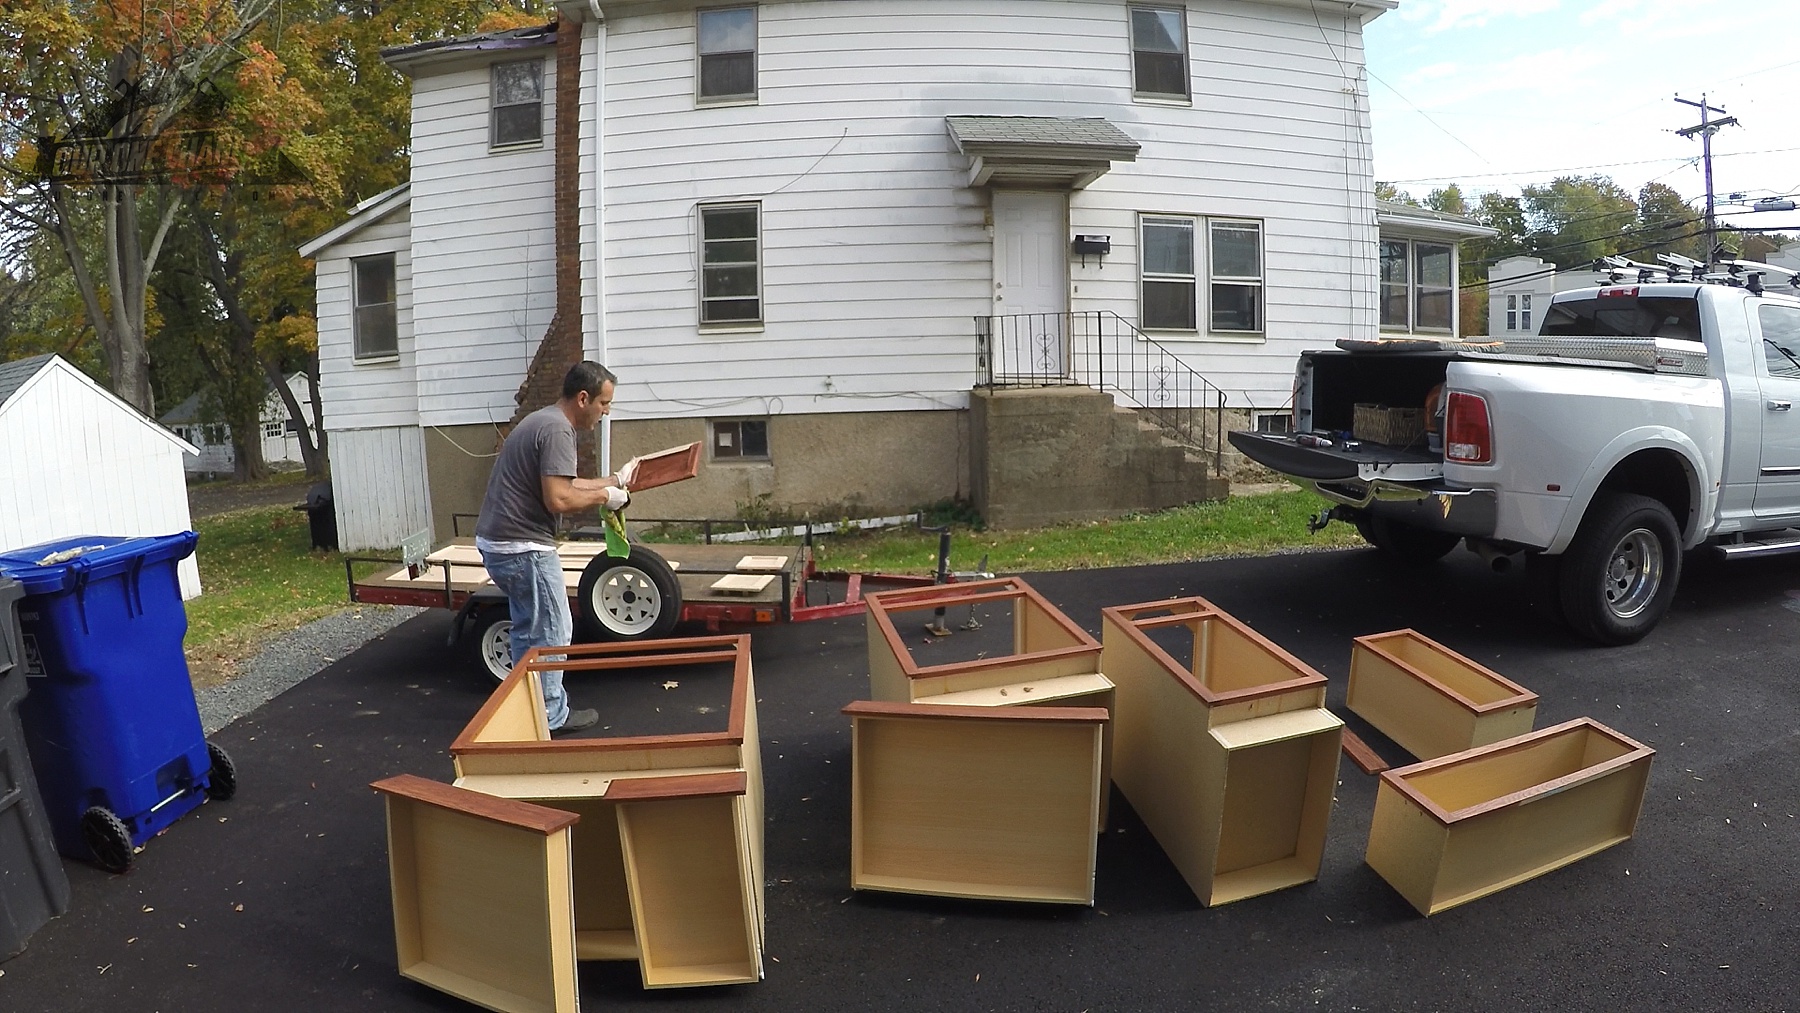
The staining process was a trial and error production. All the cabinets were stained with a Sedona Red stain, then top stained with an American Walnut (Almost black it seemed) then quickly wiped off leaving only the lowlights. A couple of coats of polyurethane and we had as close a match as I could possibly get. 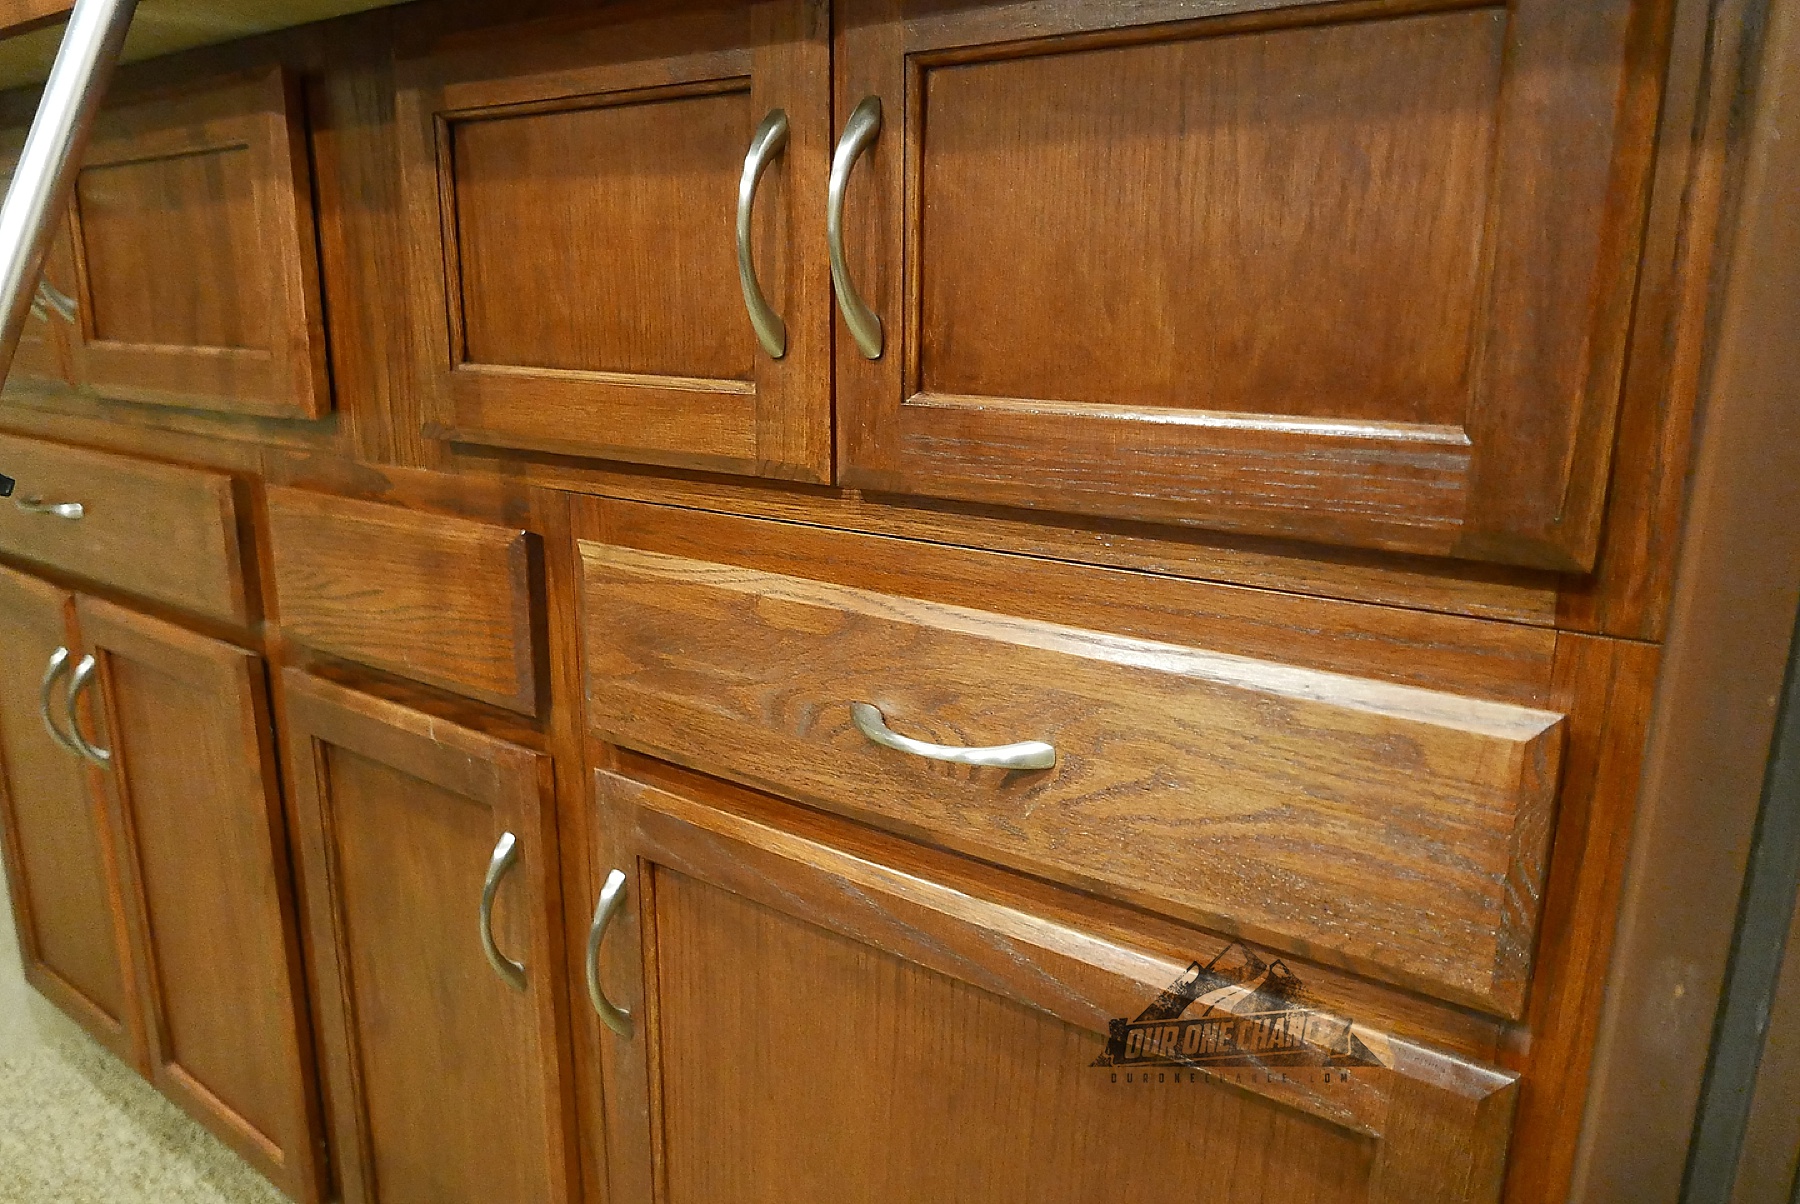
Here is the closeup of the 3 base cabinets and the two overhead cabinets all mounted together. 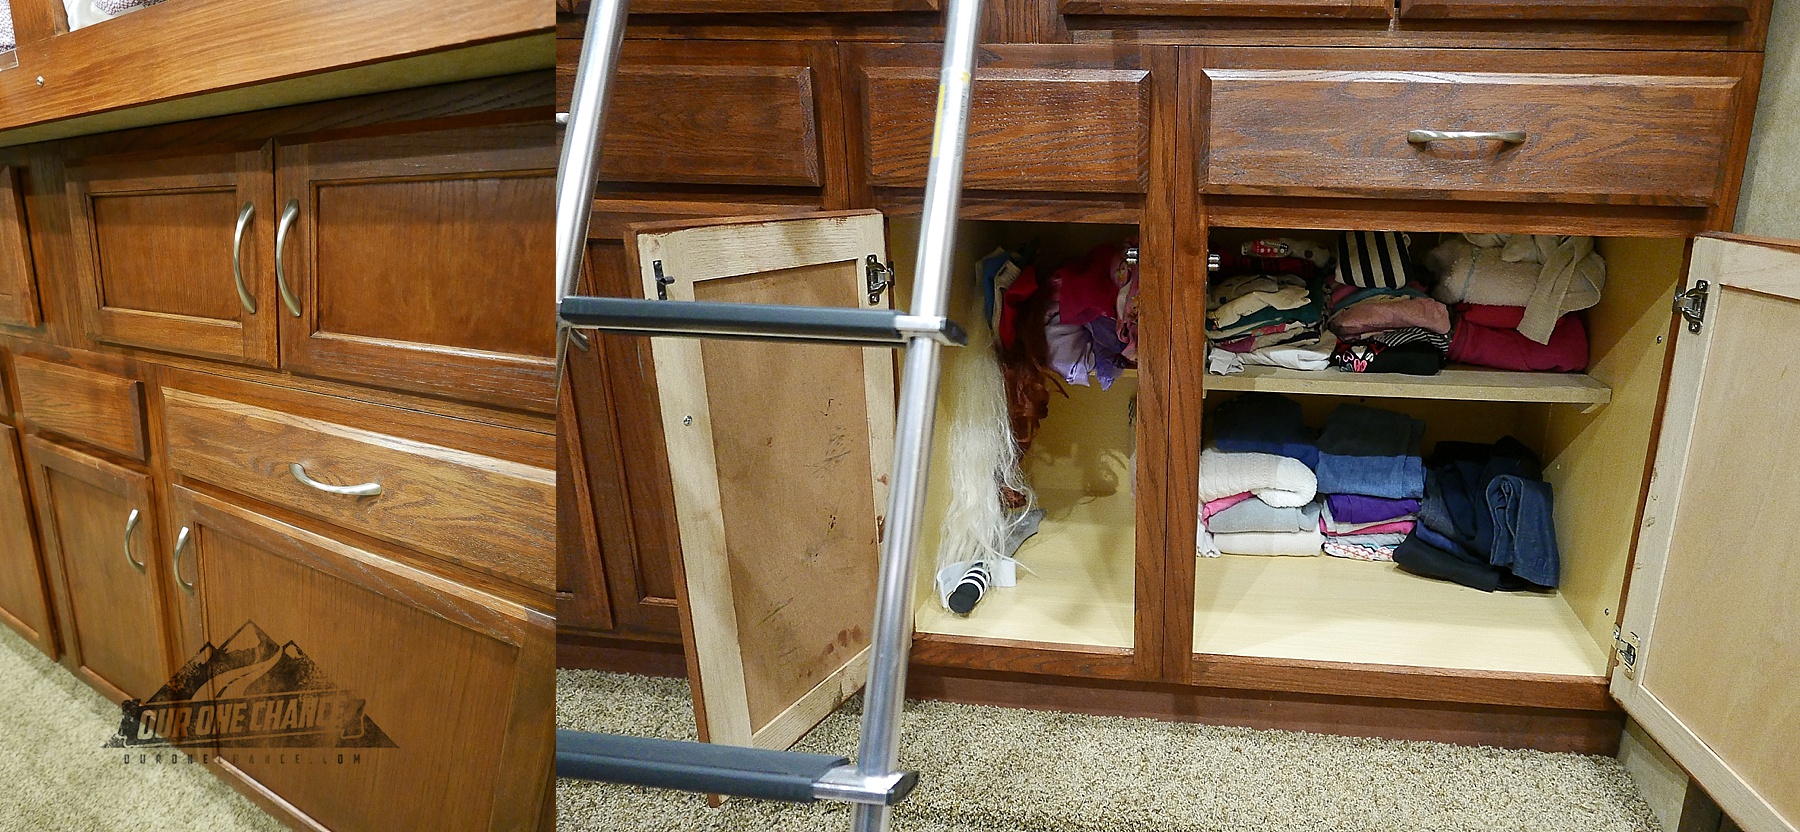
NO I didn’t bother to stain the inside of the doors or cabinets… and I don’t care that I didn’t ! lol 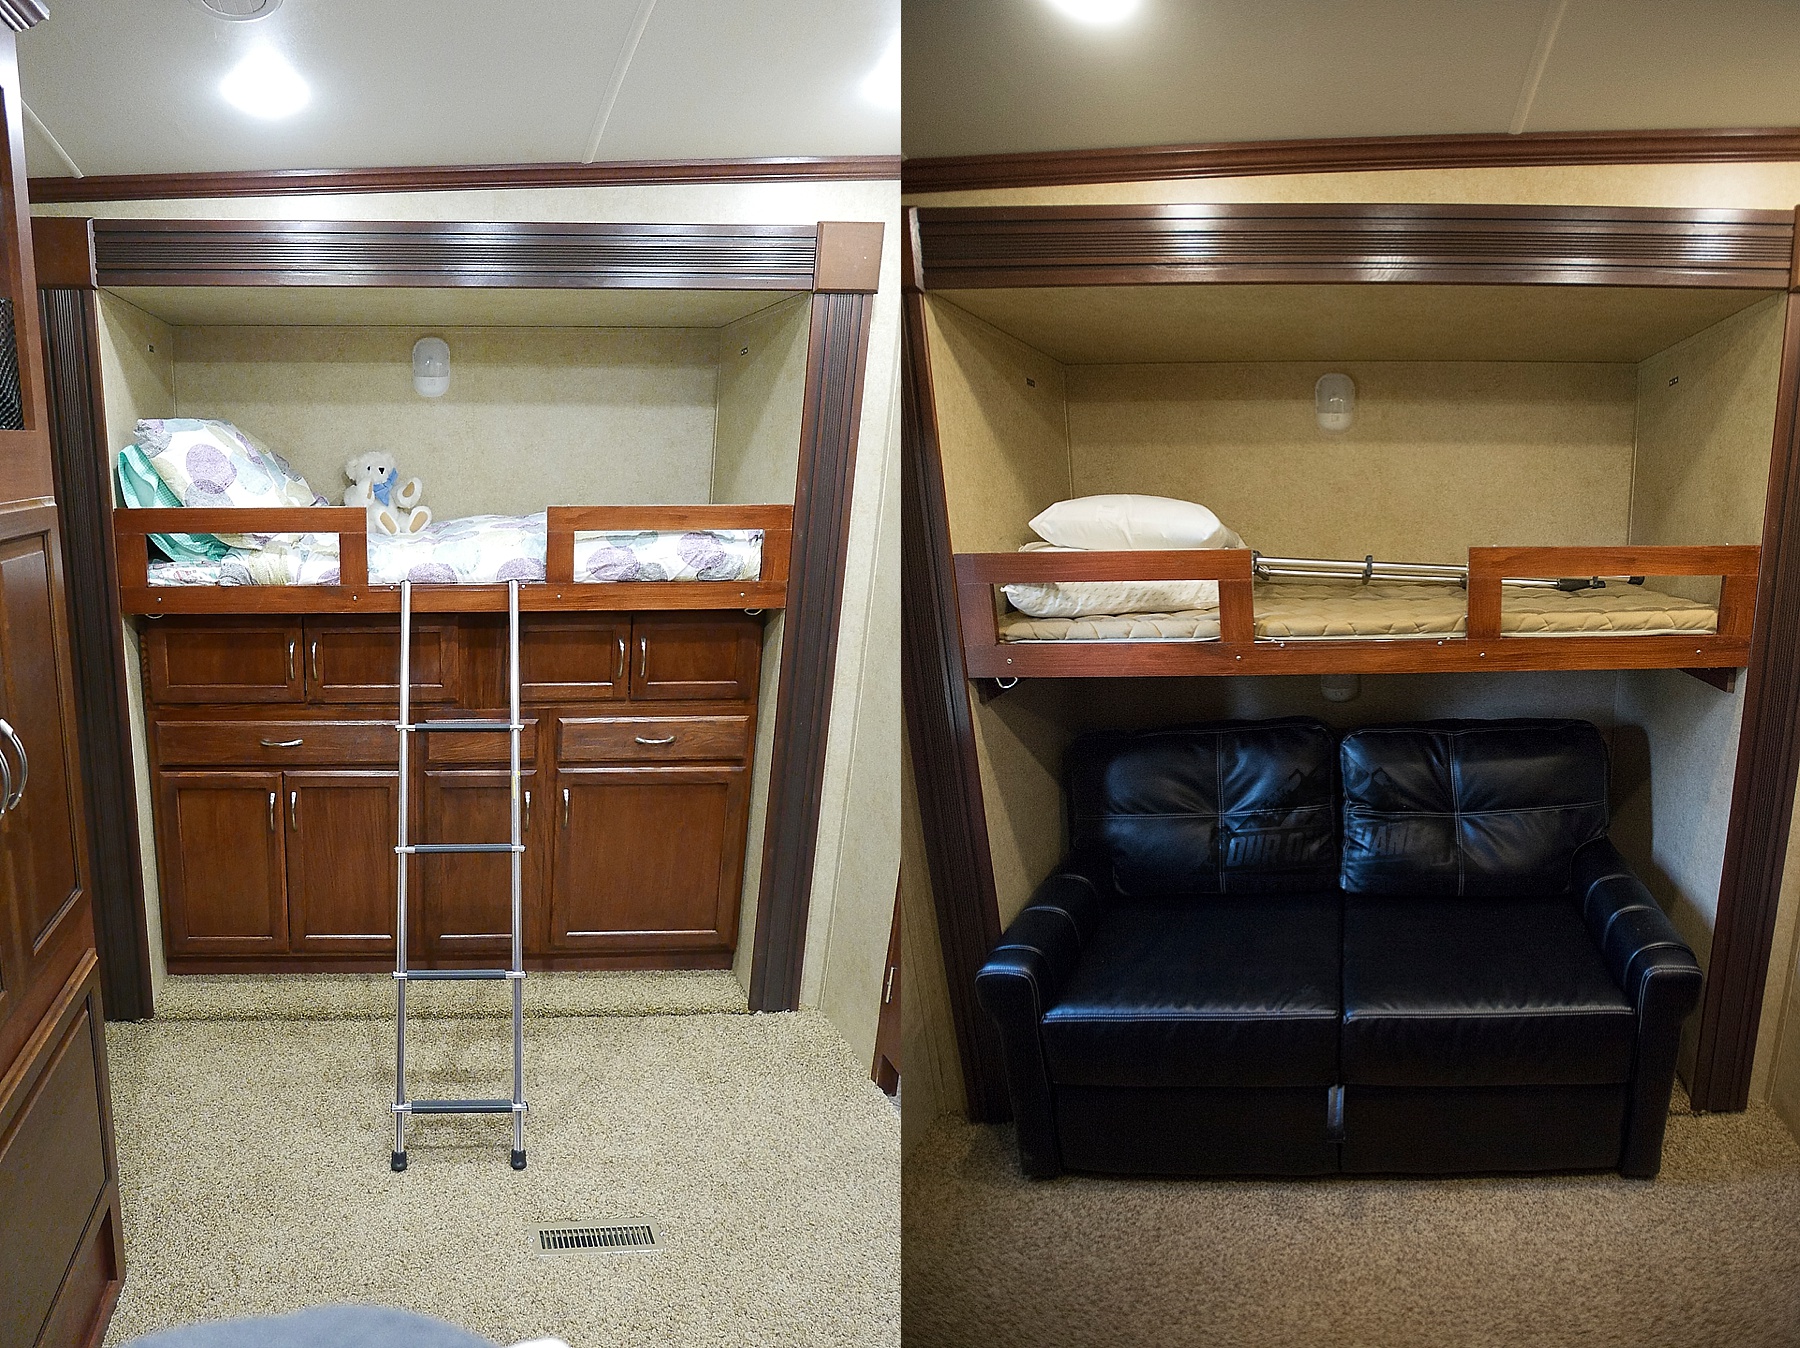
The official Before and After photos of the Bunk House cabinet system. 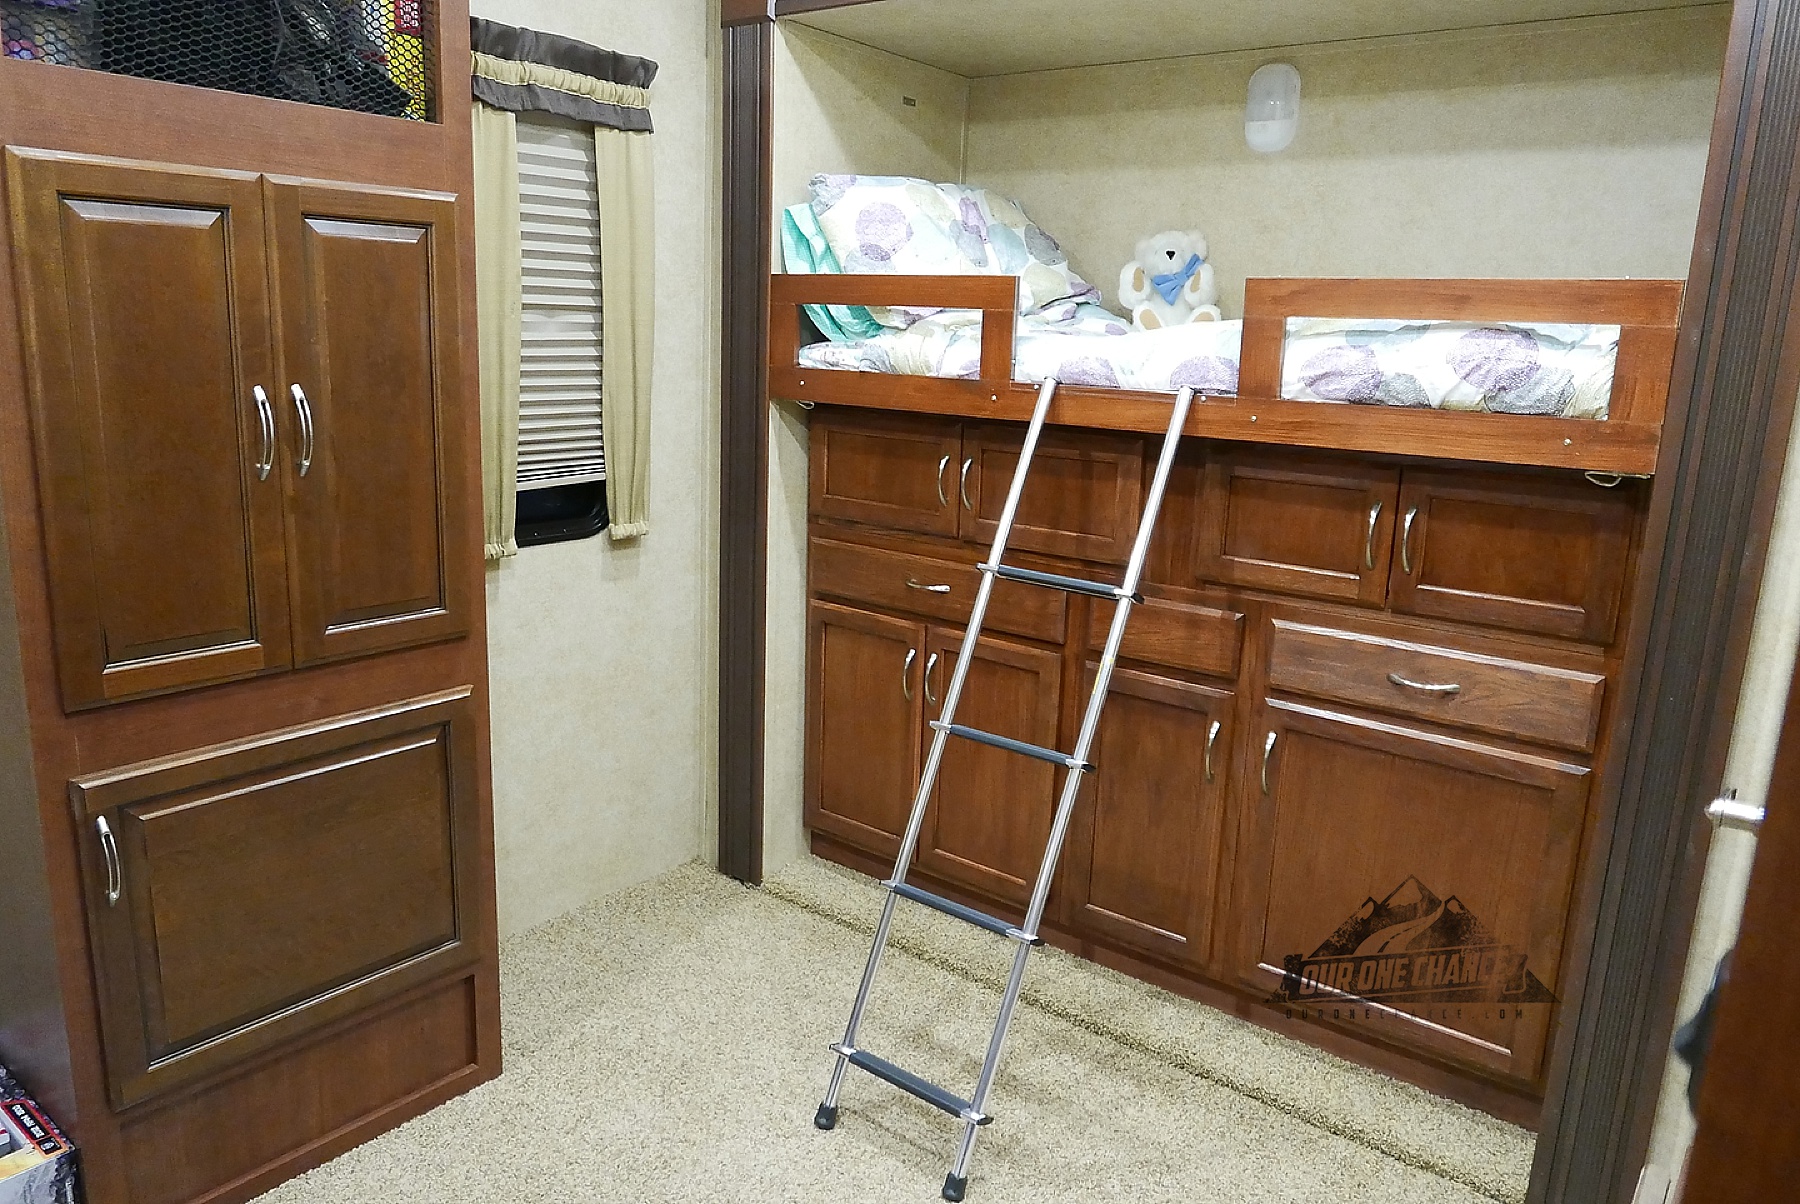
The whole project cost us about $600 total including the magnetic lock closures and brushed nickel handles. One side note was that when carrying in the 30″ cabinet (on the left) and the 24″ cabinet (on the right) I quickly realized that they would not fit through the 20″ doorways of the RV. After scratching my head for quite a while; I cut the cabinets in half. ( separating the front section from the back section) Keeping the sides, bottom and top in tack I carefully cut around the whole cabinet with a circular saw then reassembled them inside the RV. This set my timeline back several hours but the final result turned out much better than I could have imagined. 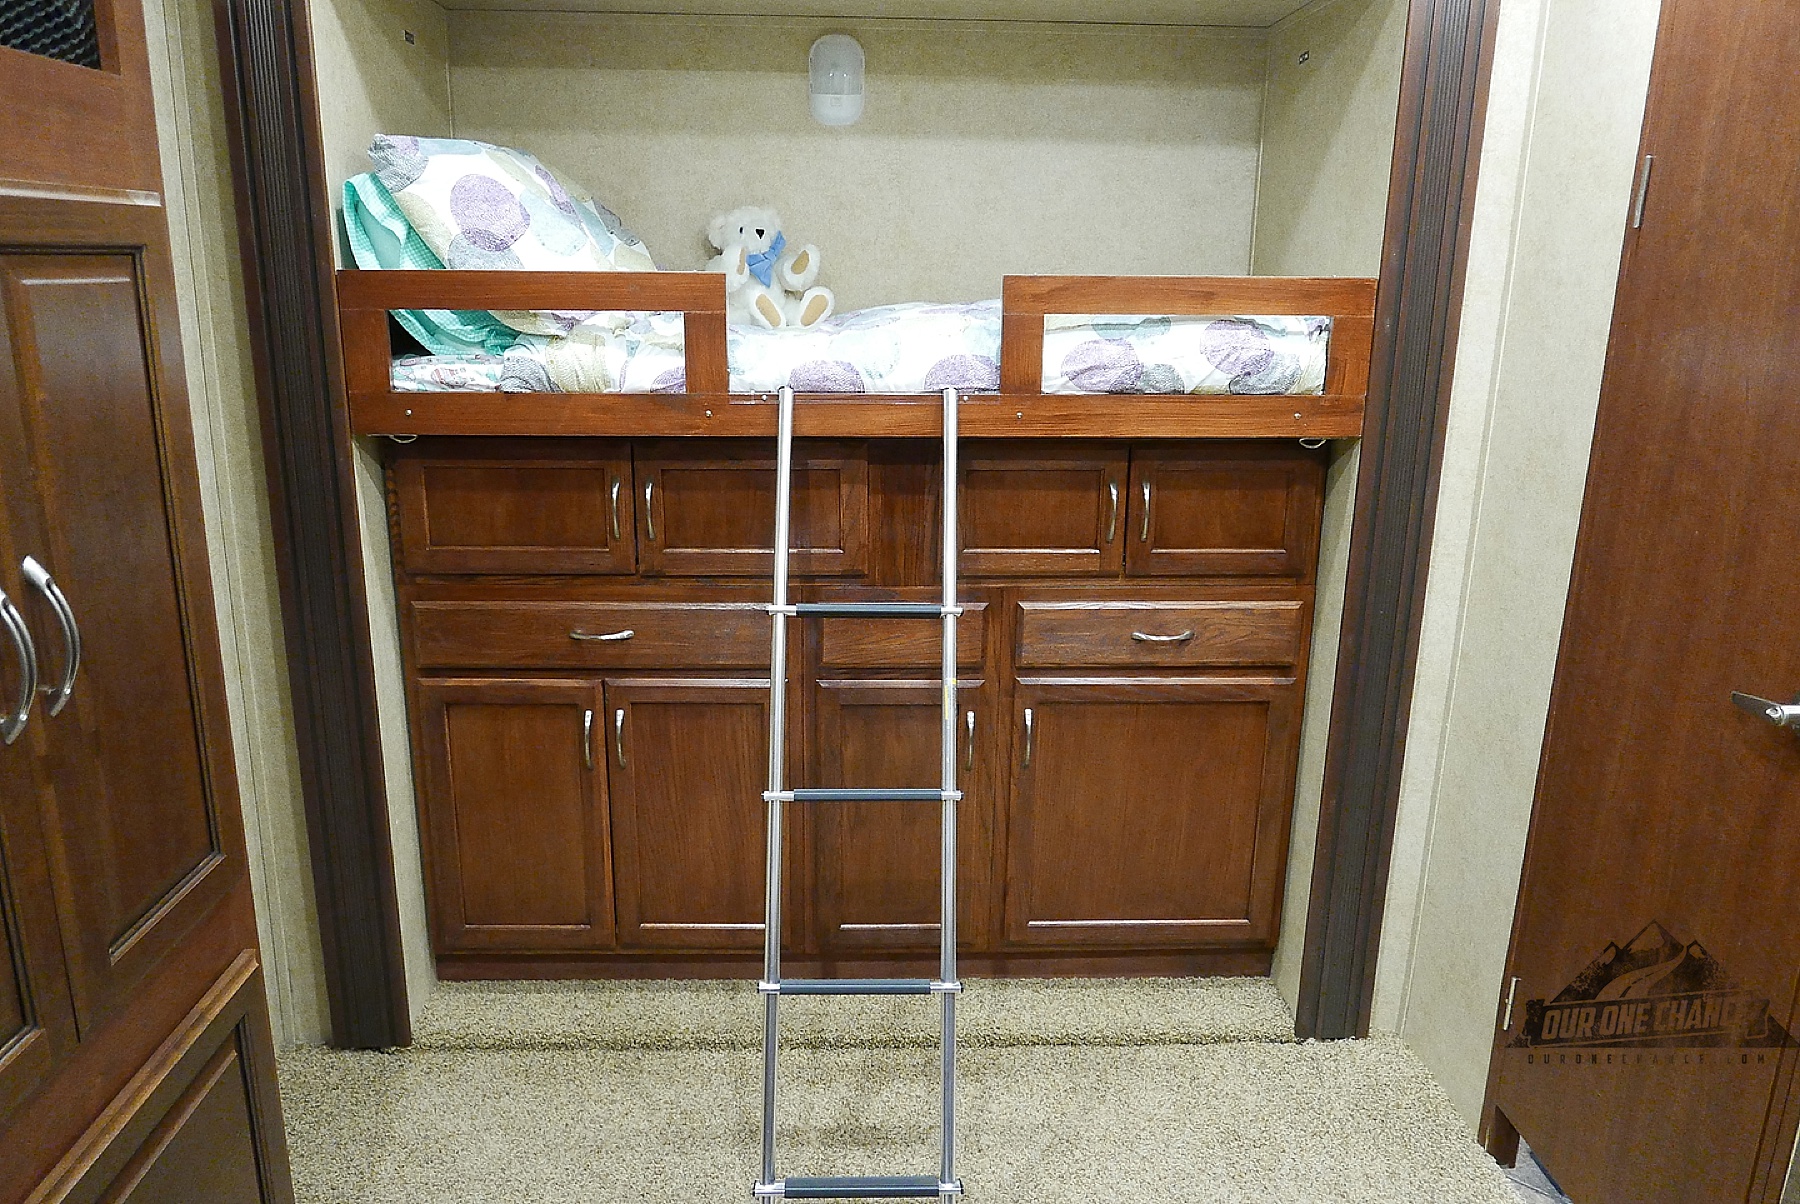 Complete the bunk with a Vermont Teddy Bear and it’s a cozy bedroom.