
One of the main dislikes about RV doors is that they rarely have enough light coming through. The screen door is perfect when open, but in extreme climates, we quickly realized we needed it shut to keep the AC or the Heat inside the rig. So for a cold, rainy day or beautiful sunny hot day, we were often stuck with the outside door being closed and minimal light entering the right side of the RV. Yuck!
Another major problem we were working with with our old dog Cole, is that the wimpy screen wouldn’t hold him back from visitors; and as you can see by the picture, one swipe of the paw and the screen was wrecked. 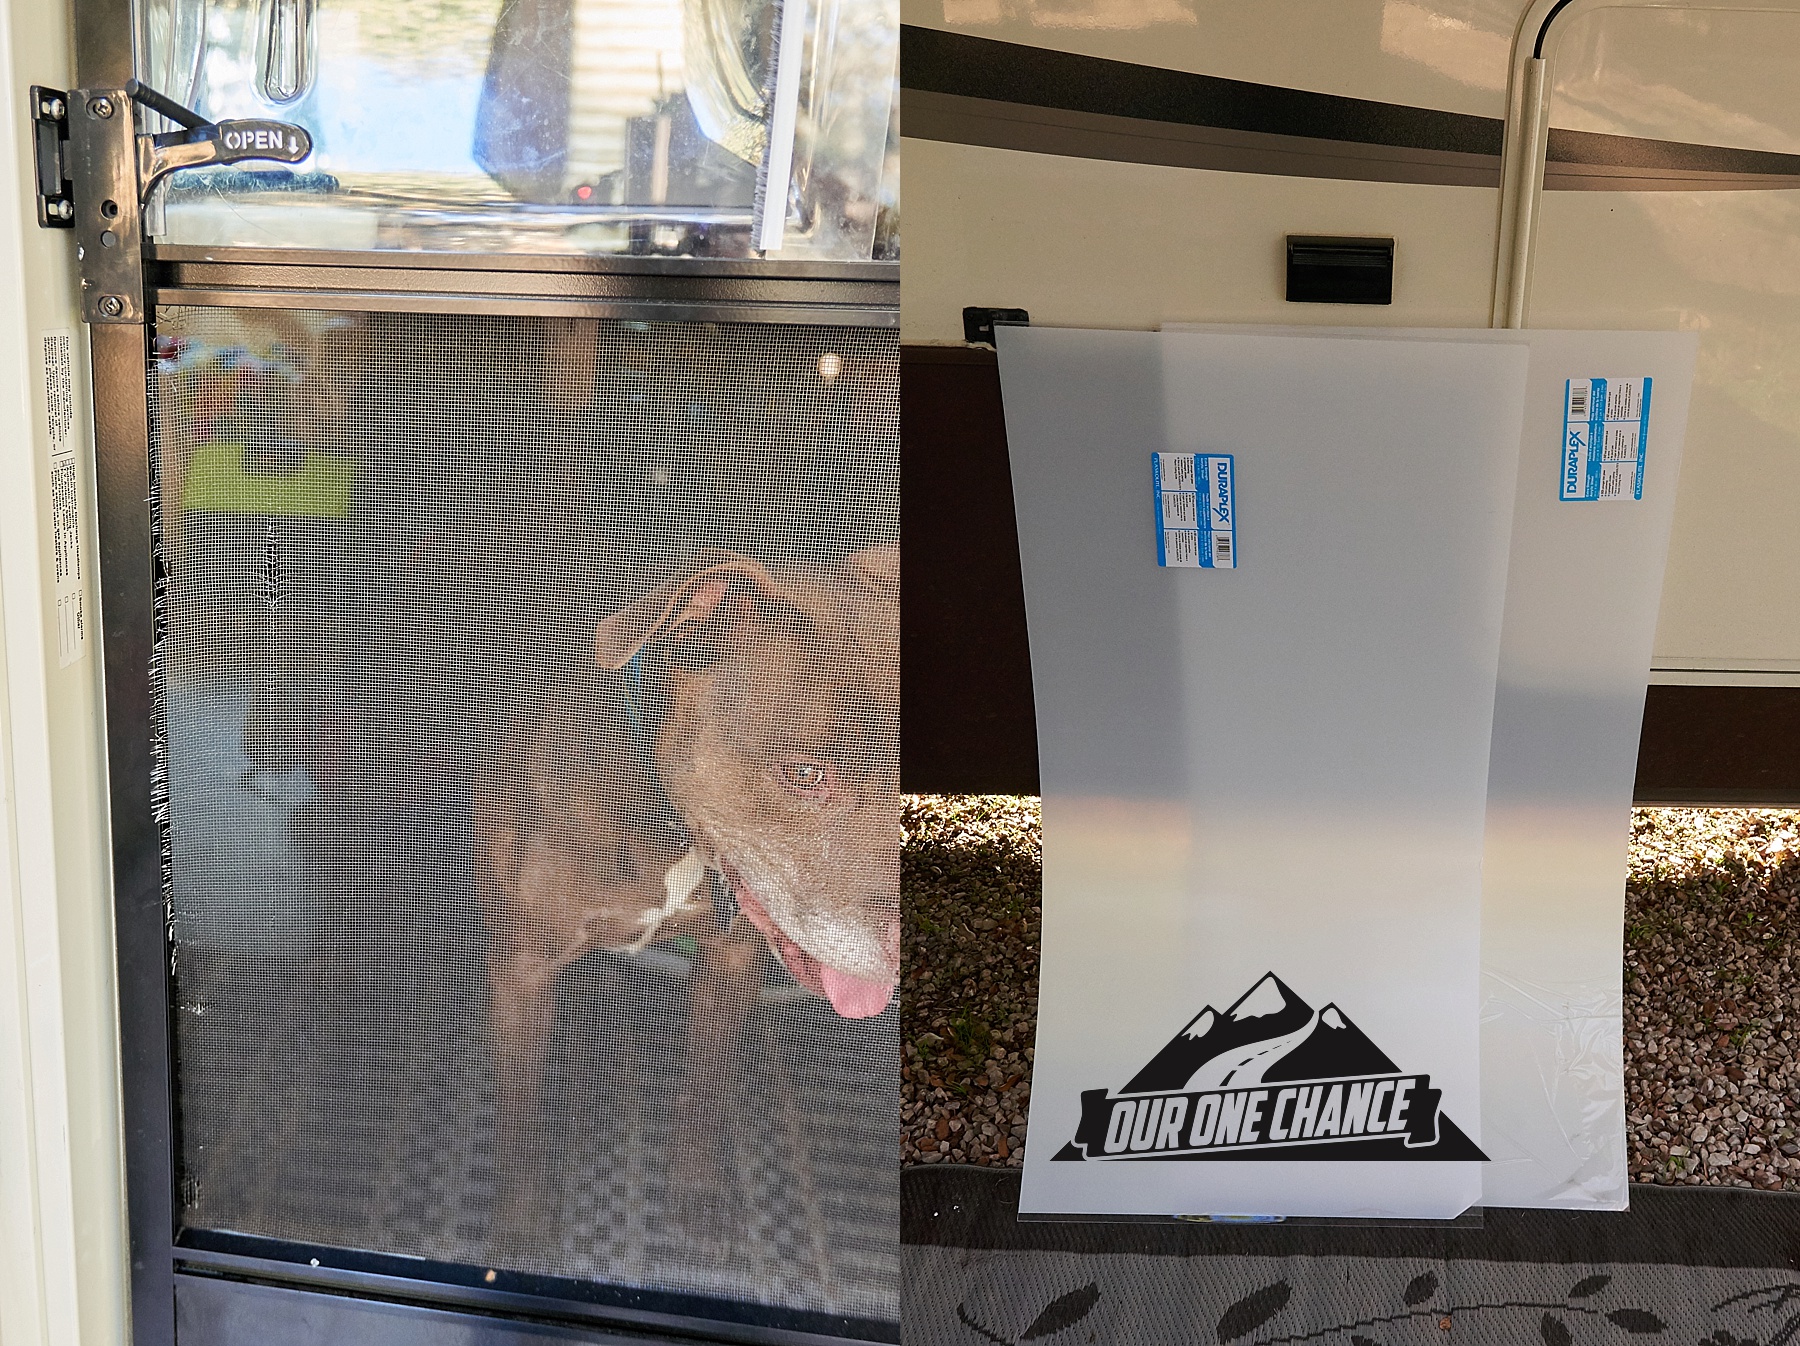
Now I have always wondered if they made an glass or plexiglass insert for the screens of these doors but was unable to find them online. Lippert does make a screen reinforcement system called the Screen Defender but nothing that converts the screens to plexiglass or something for cooler weather. While looking into how the RV screen doors are made, I can see in the frame of the door that the top, left and right frames all have approximately 2mm channel built into it. So my thought was to just go to Lowes and get some plexiglass and cut it to fit within that channel. 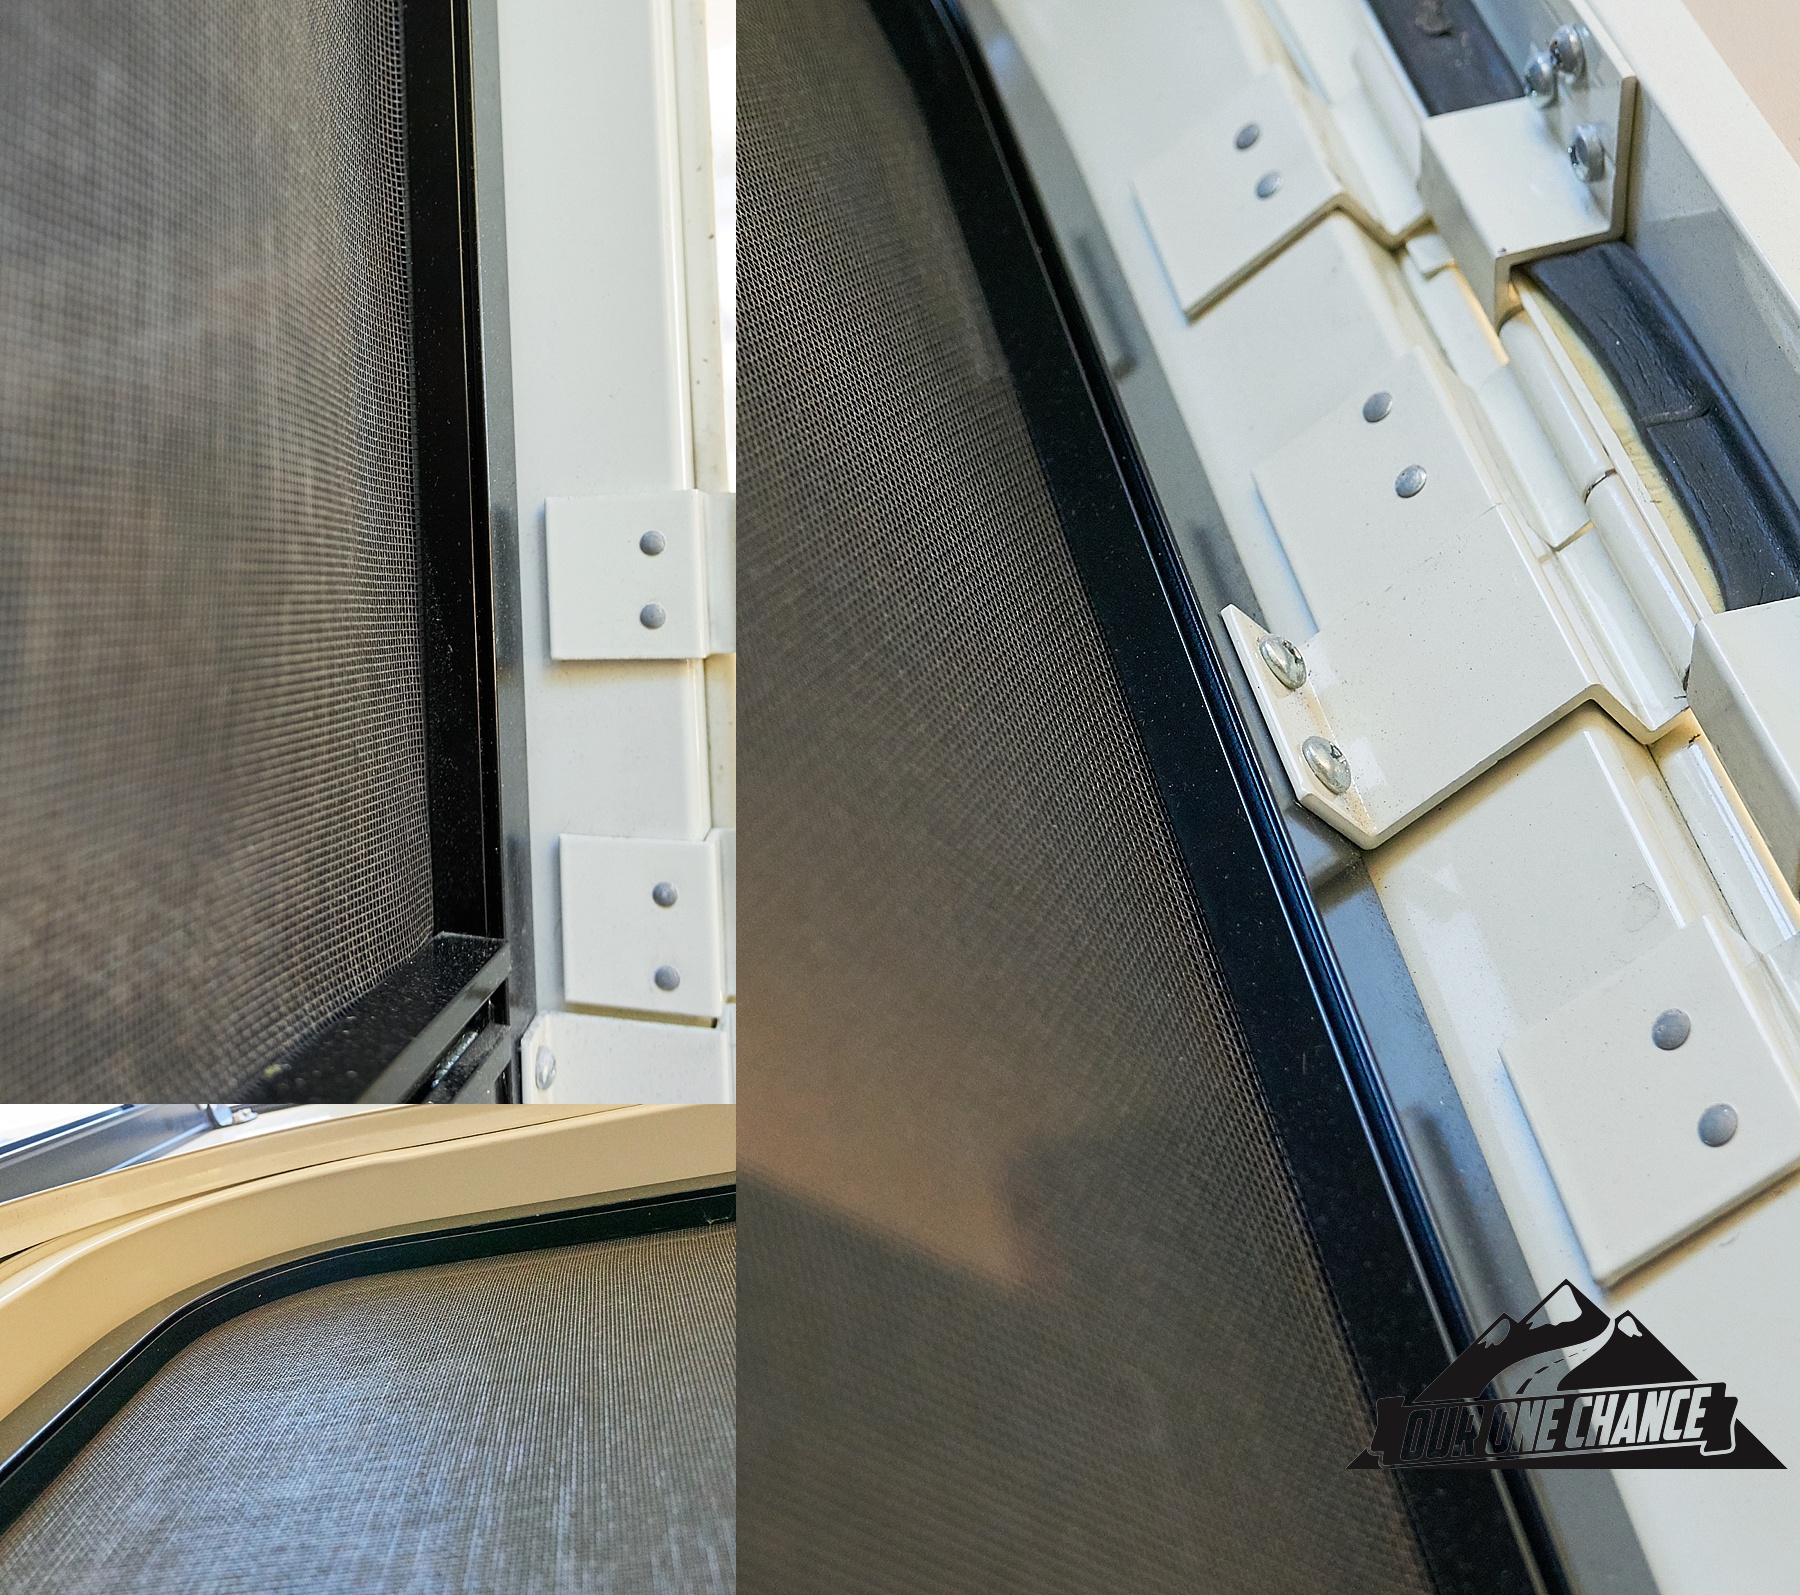 This is the brand and size of the plexiglass Jen was able to get for me at Lowes. Duraplex Acrylic Sheet 24x 48″ and 2mm thick.
 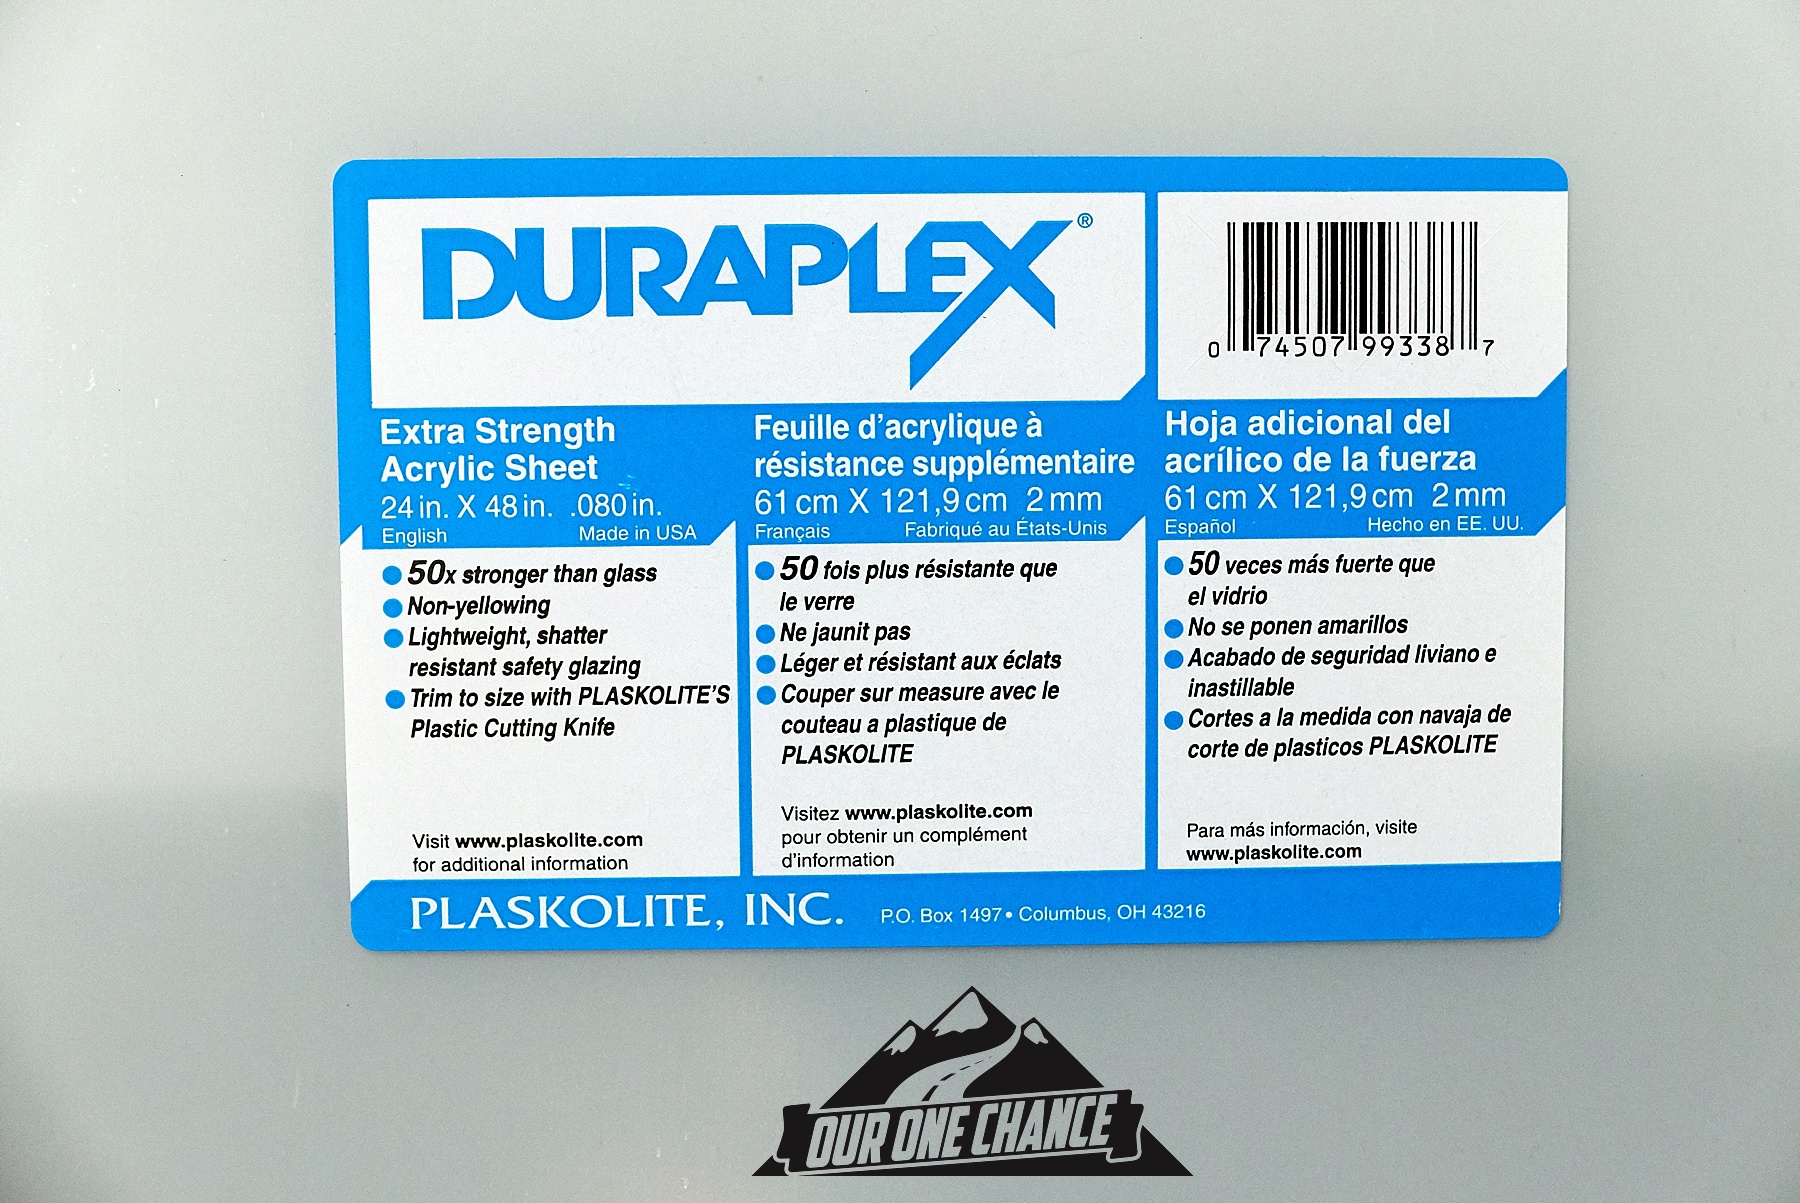 As the girls went to the lake to workout and watch the sunset, I started my project. (OMG look how little they were)
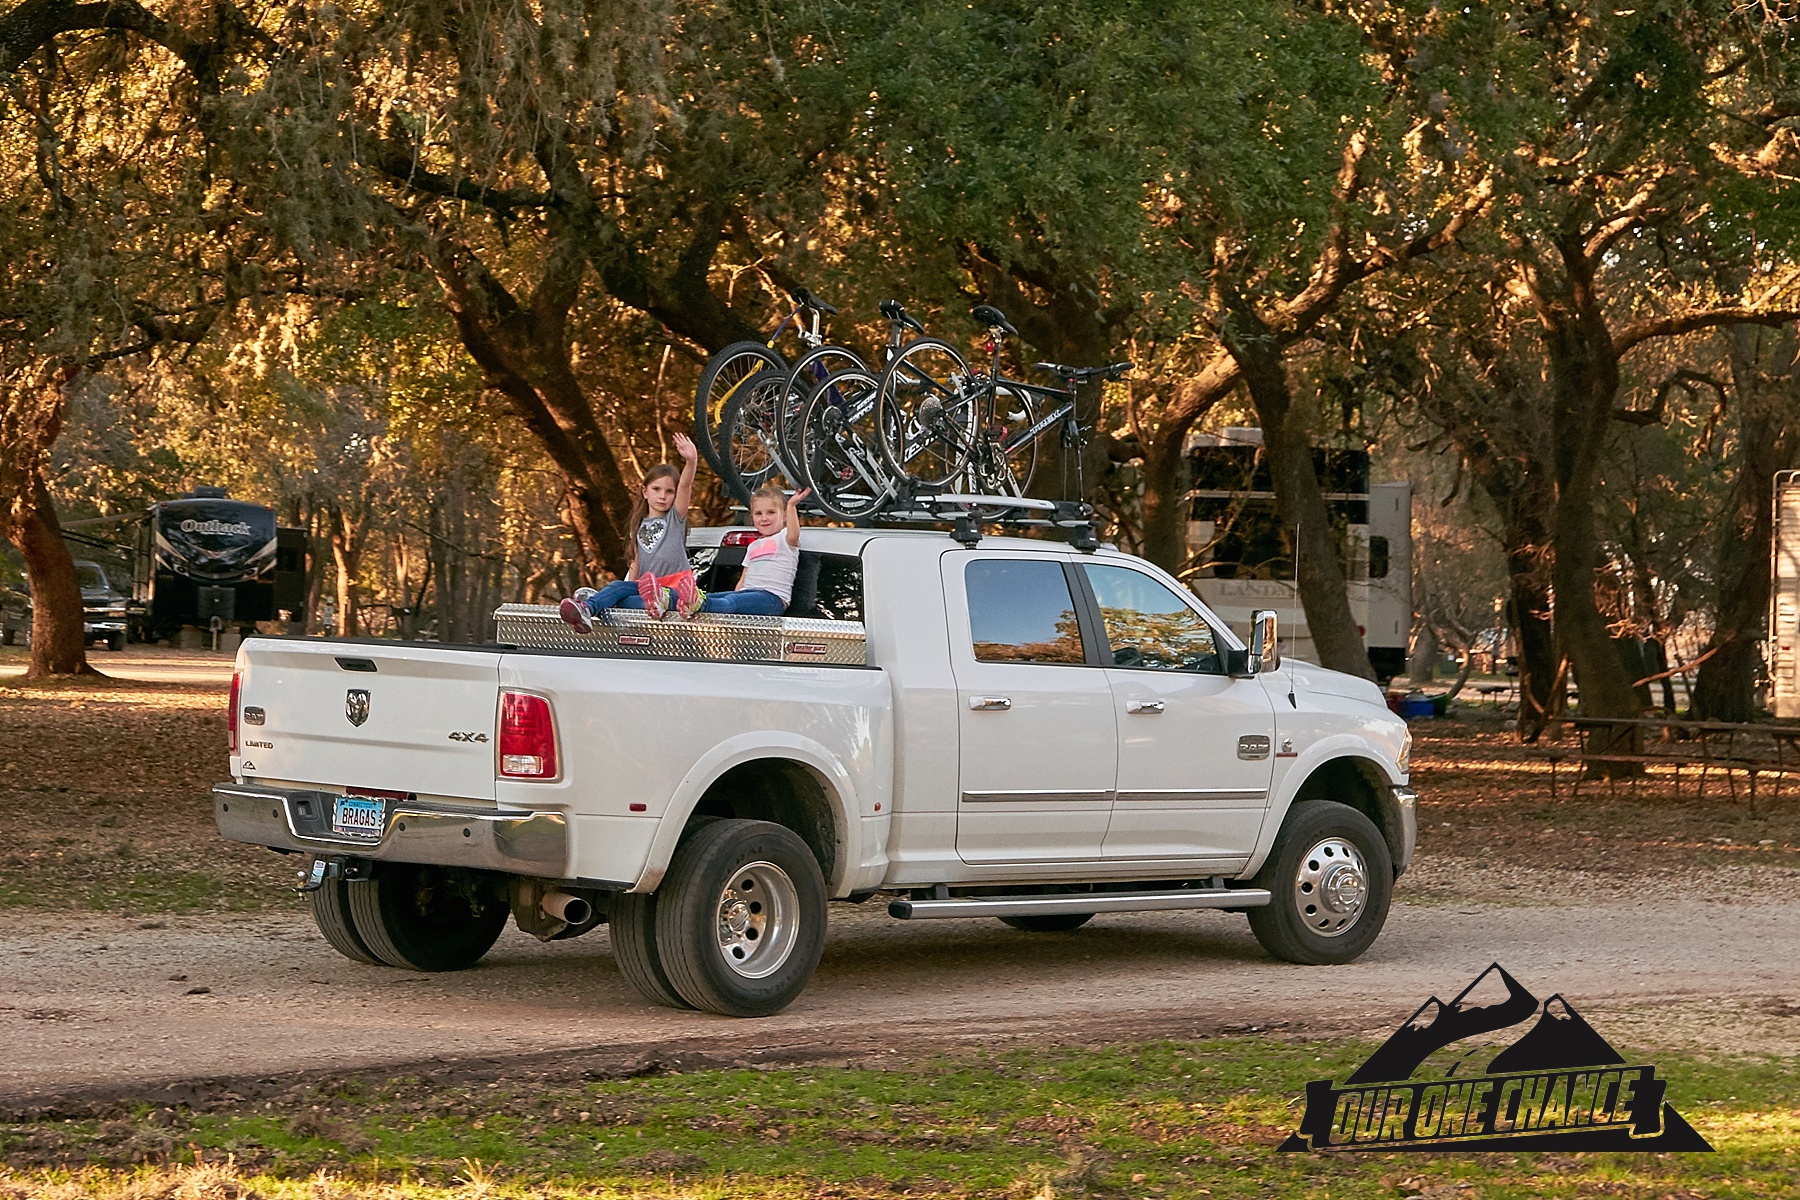 First measuring the door 3 times. (I mess this up a lot so 3 times is necessary)
 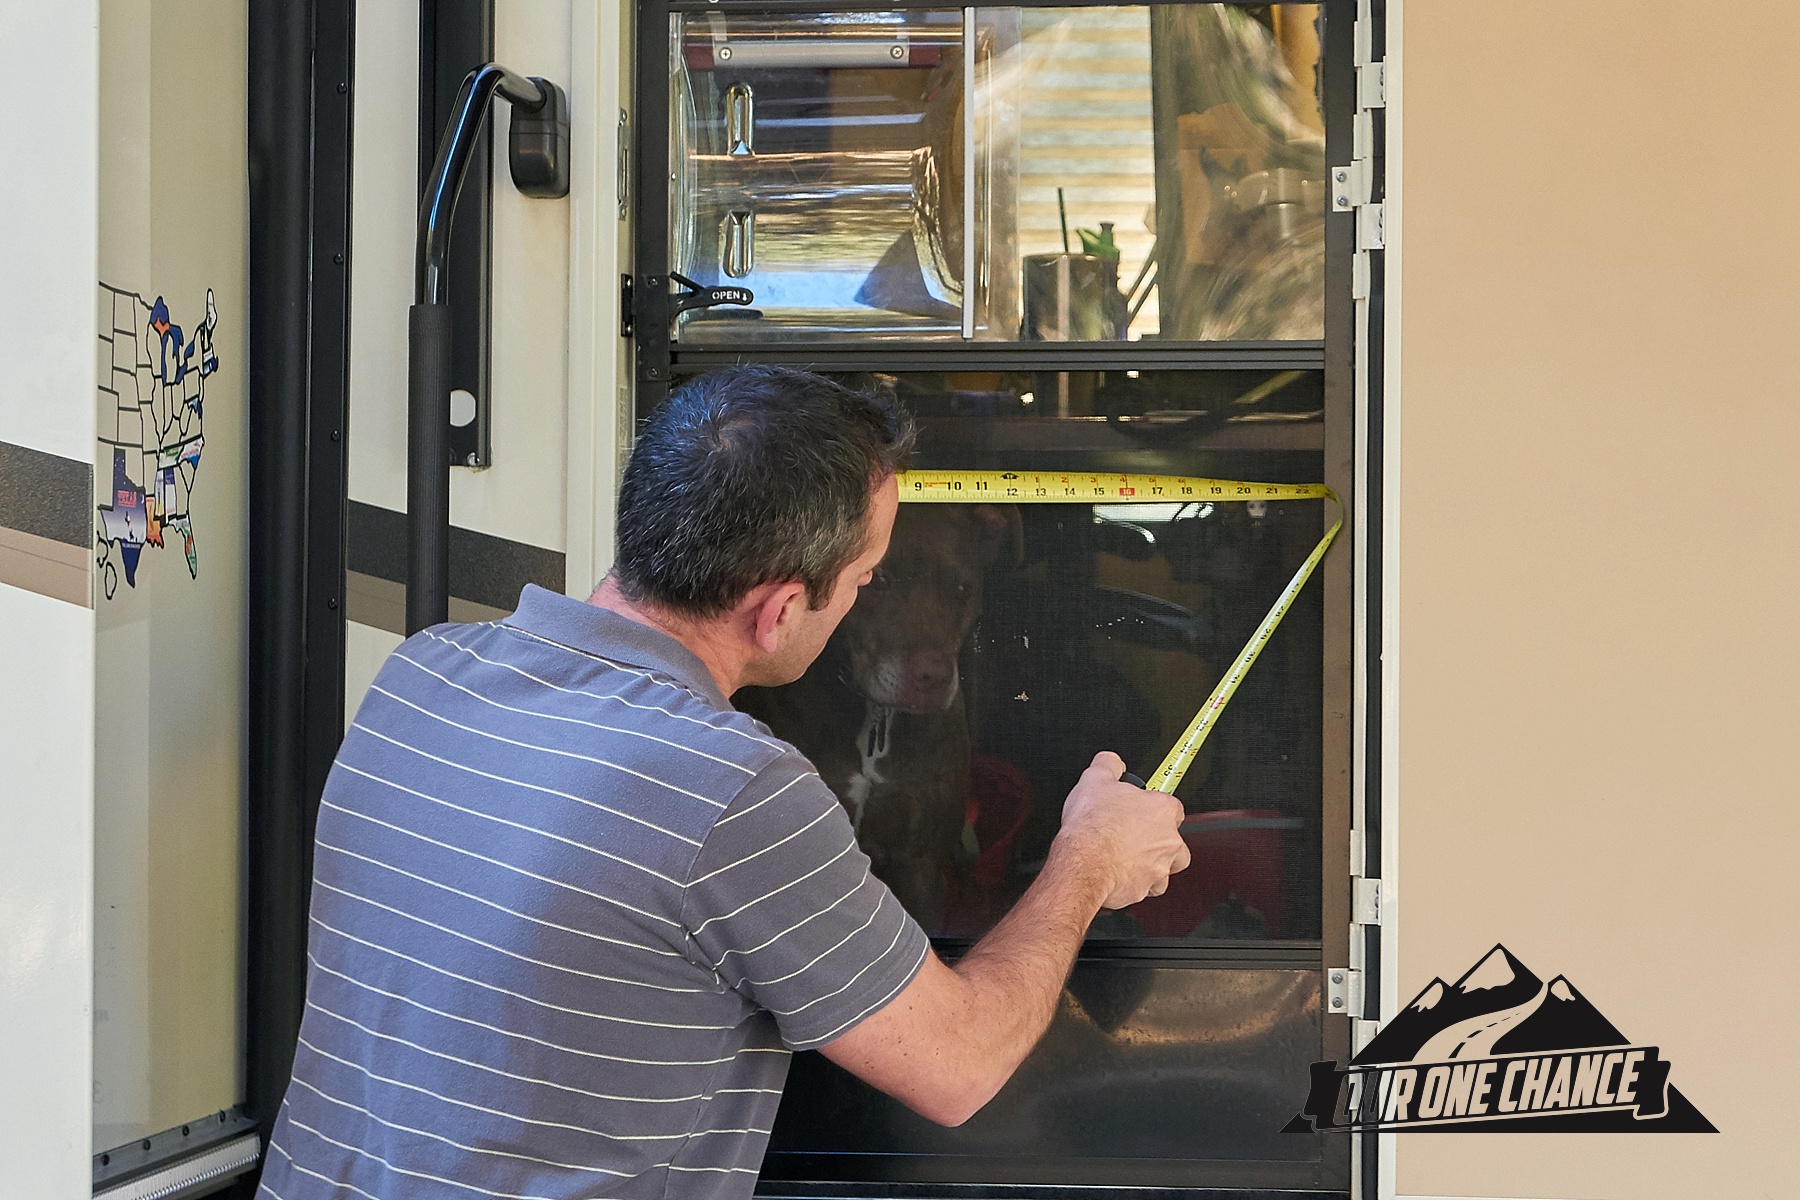 Then mark and cut.
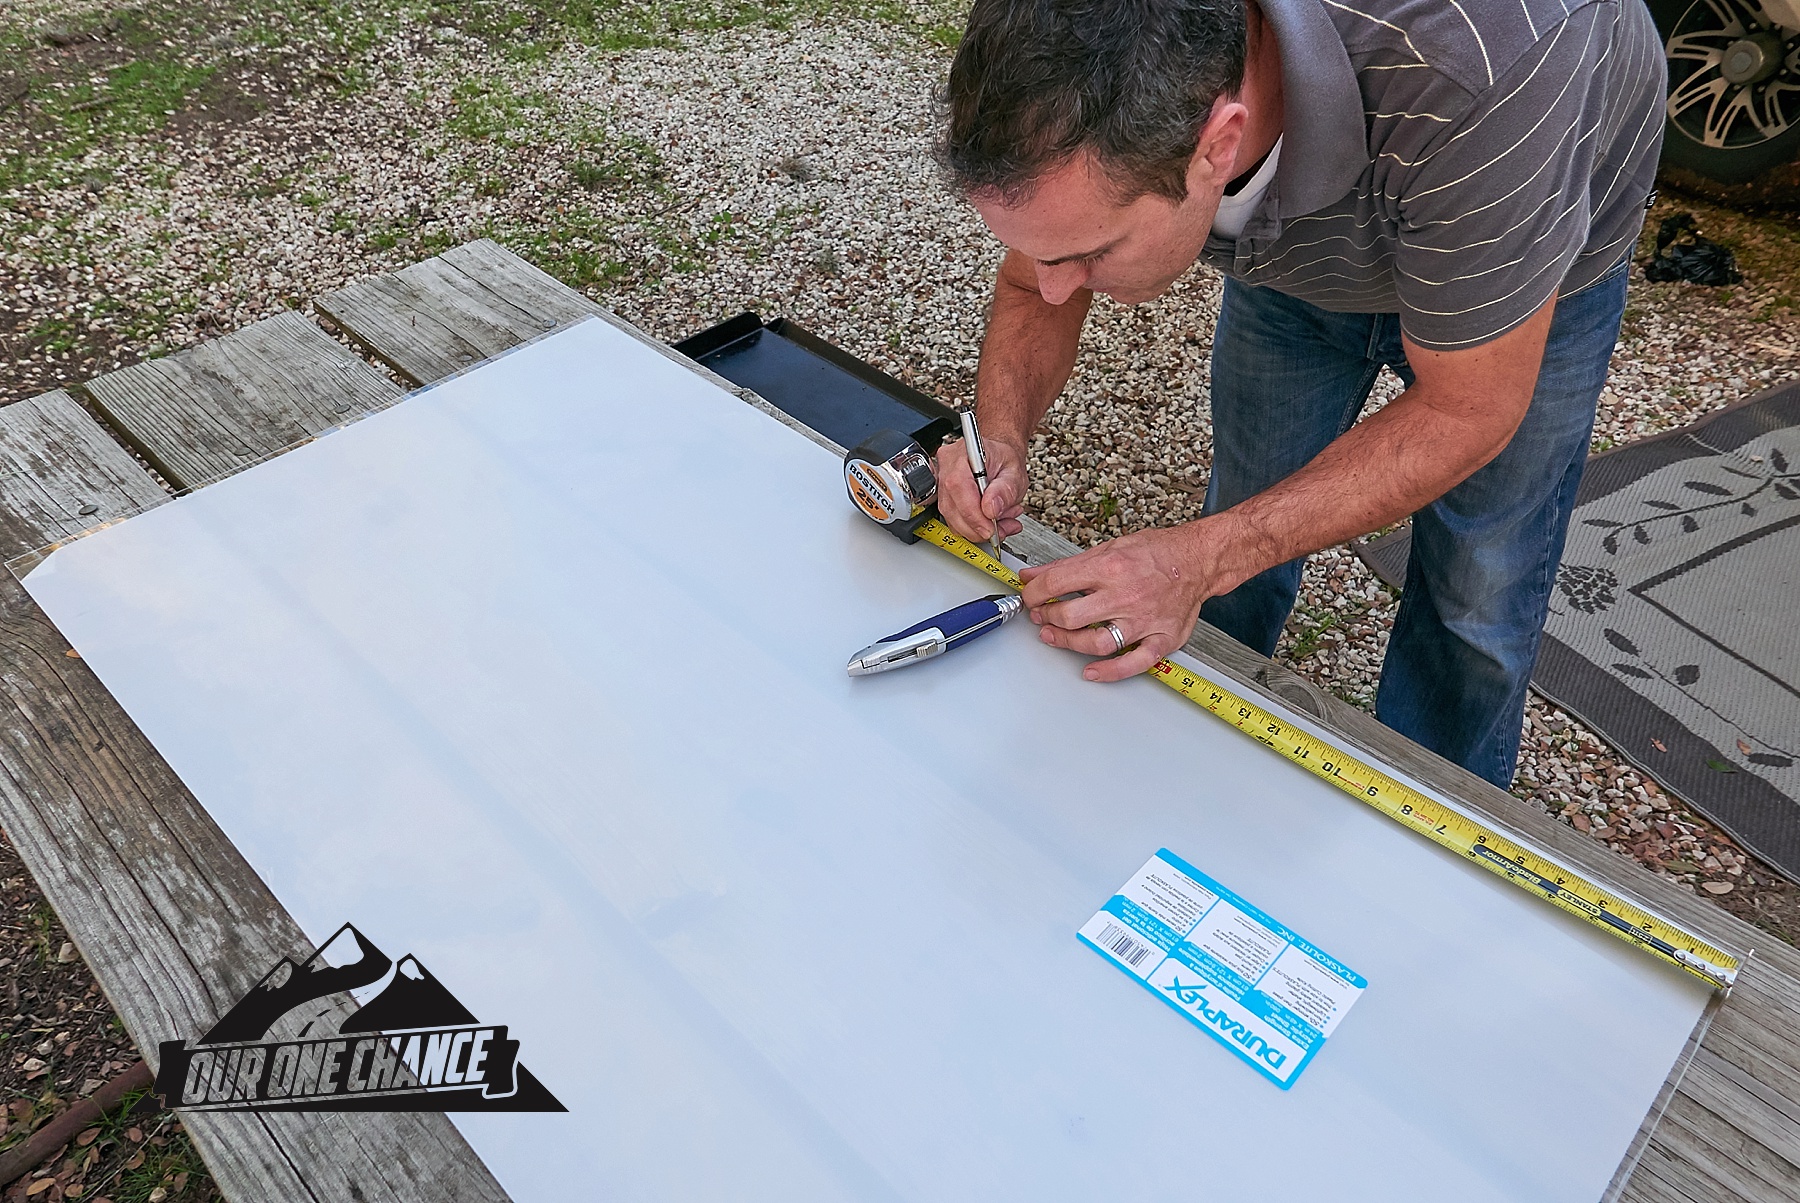
I don’t have a straight edge available on the road, so I used the plexiglass that is for the rear door as my guide. 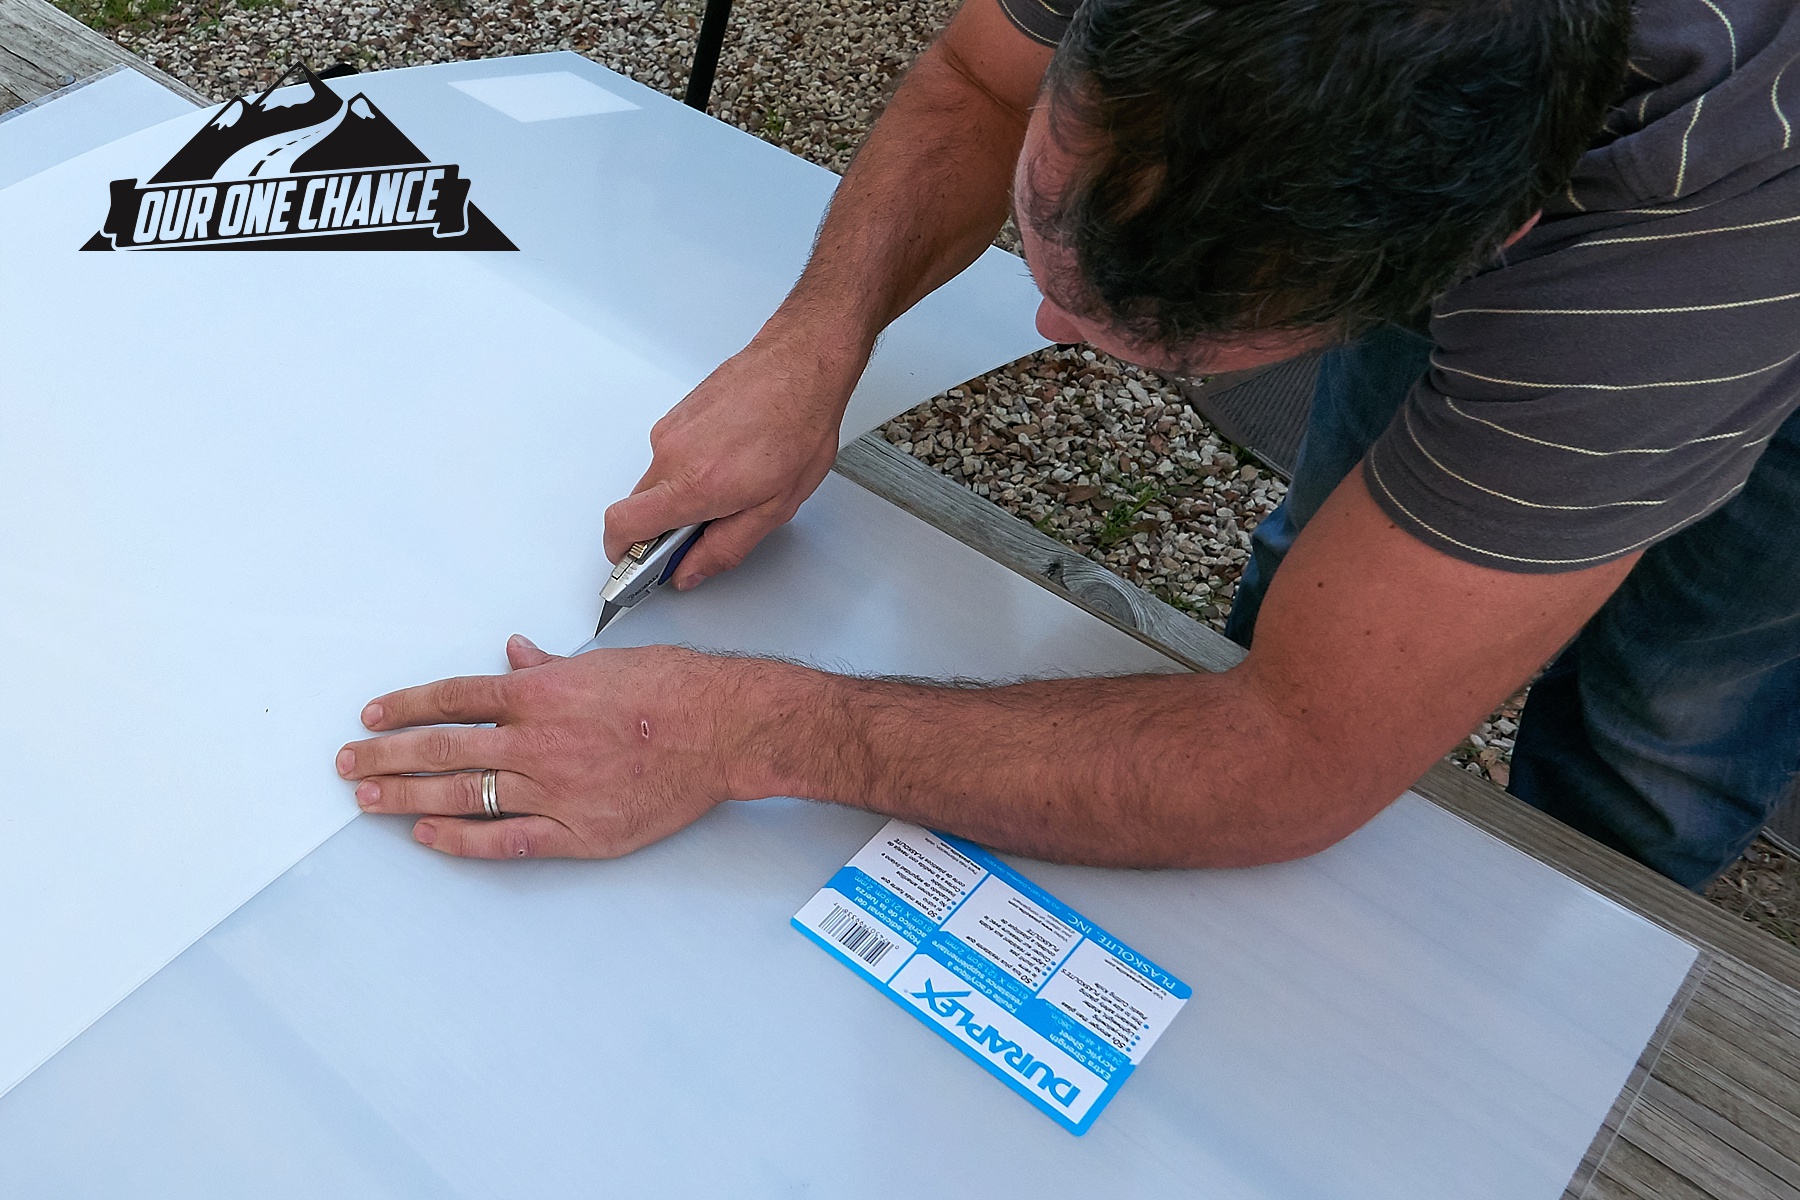 After running the utility knife through the plastic about 4 times with moderate pressure, it was ready to snap. I used the edge of the picnic table as a break and pressed until it snapped right on the line.
 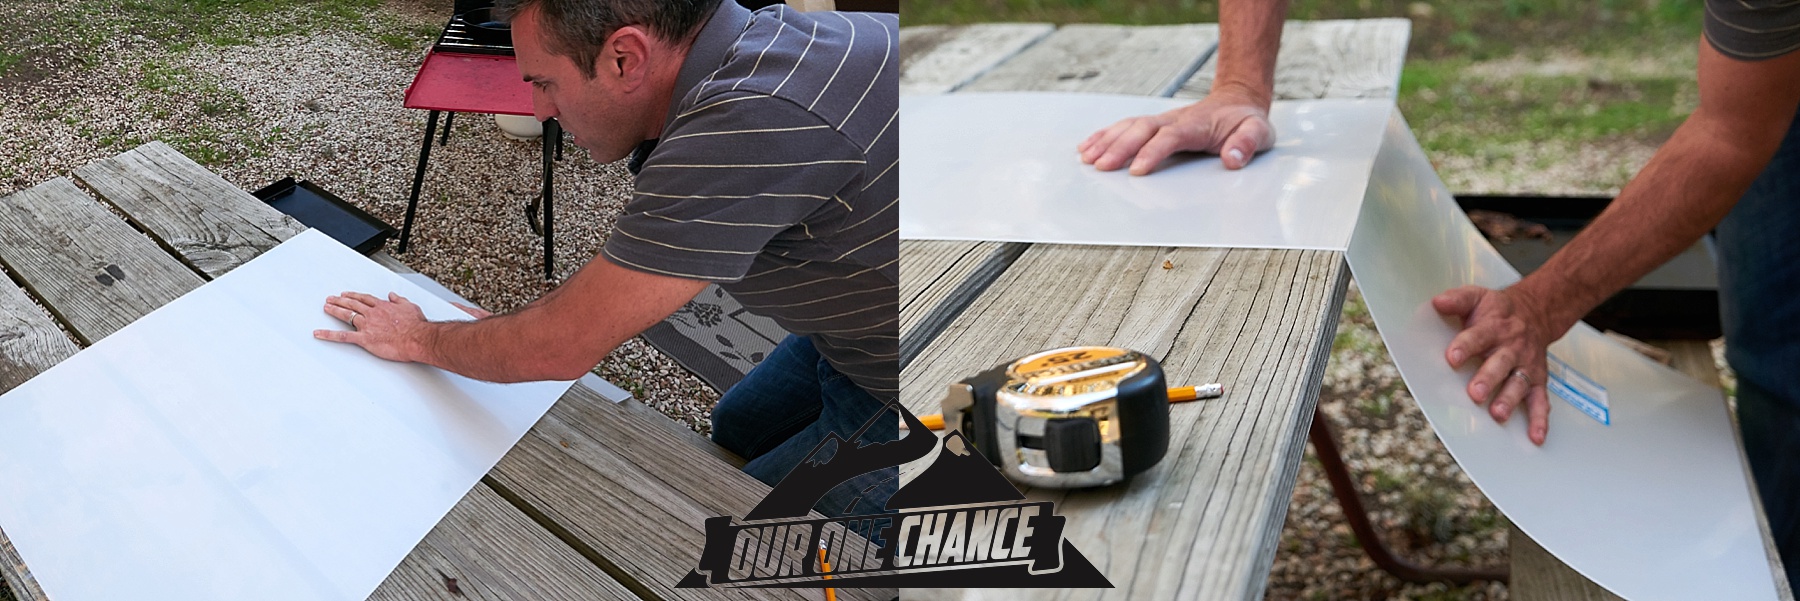 A quick trim of the short edge and it should be ready for install.
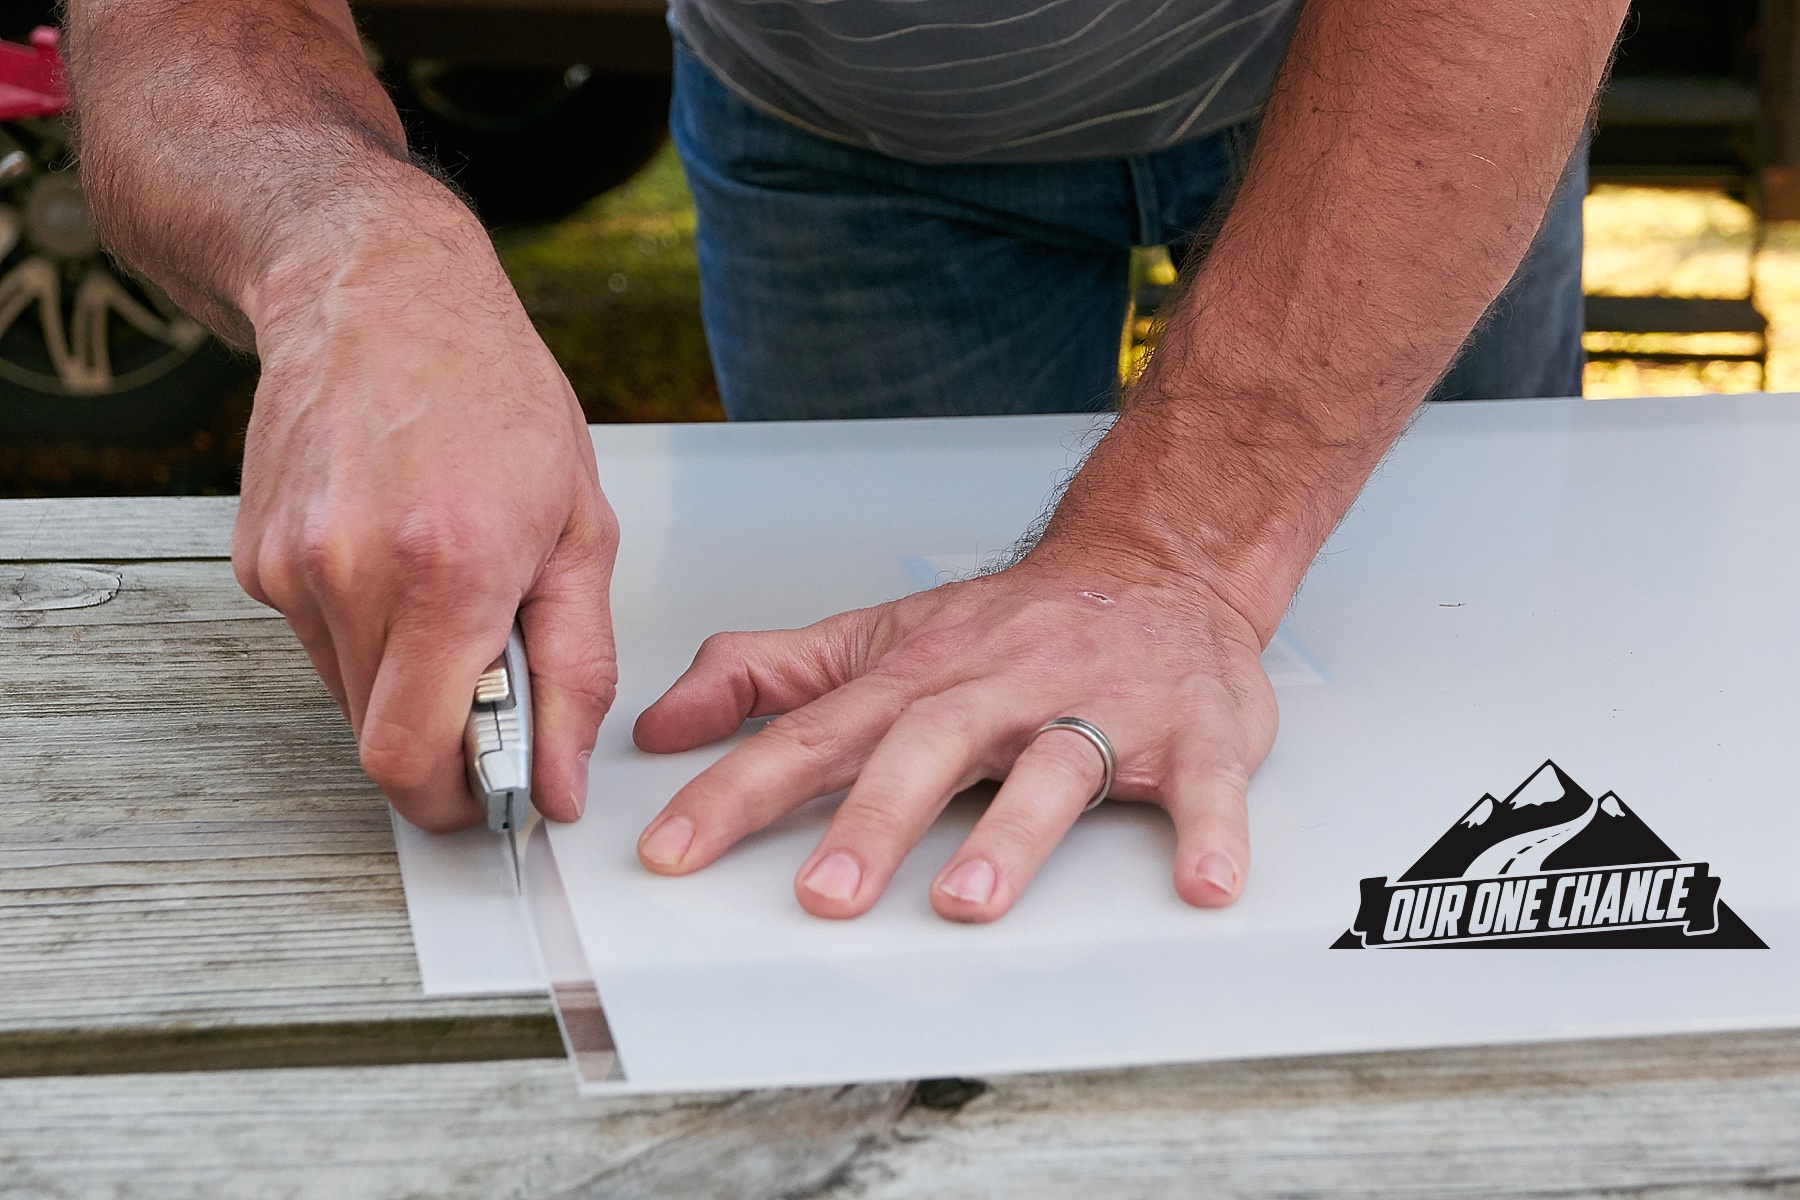
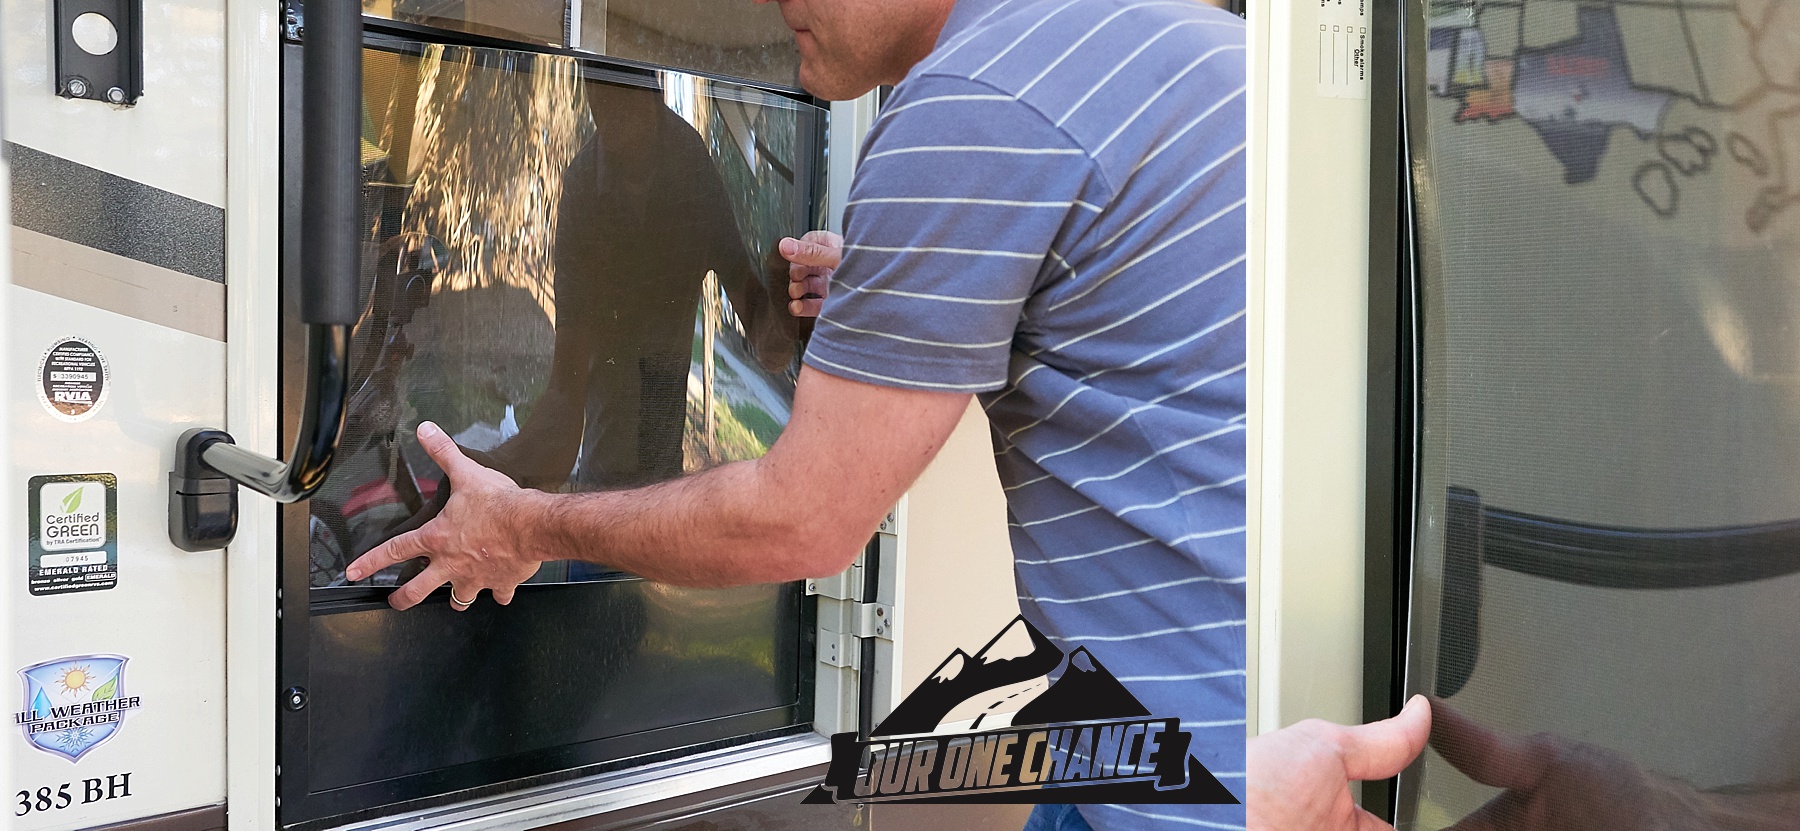 Putting it in is ridiculously simple. I flexed it in the middle then after the edges were in place I slid the top and bottom into position. Nothing really holds the top and bottom in at this point but it isn’t a permanent all weather fix so I look forward to the ease of taking it out on hotter days. If I find that it becomes too sloppy and loose, I will just add a rubber U channel bumper thing to the top and or bottom to keep it in place.
 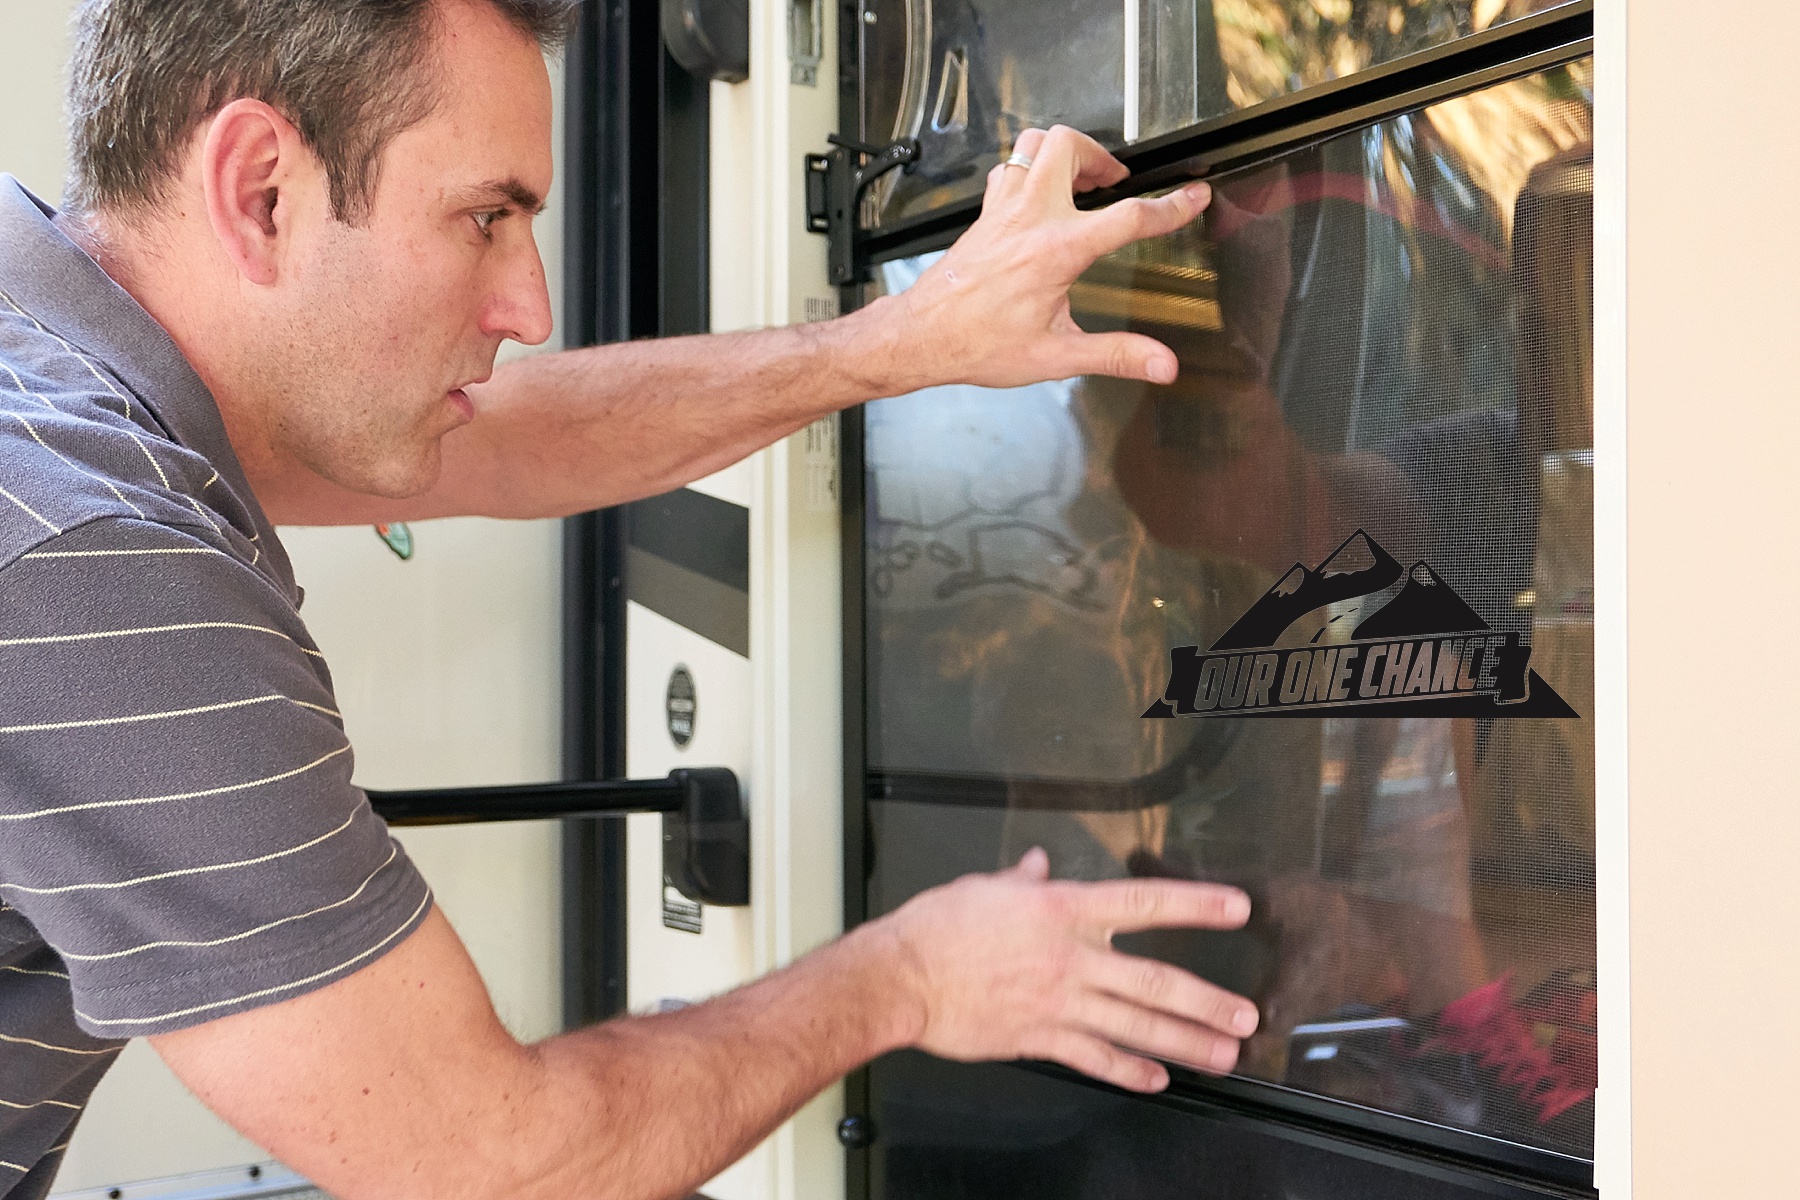 Next part was the top half of the door and the tricky curved edges….
 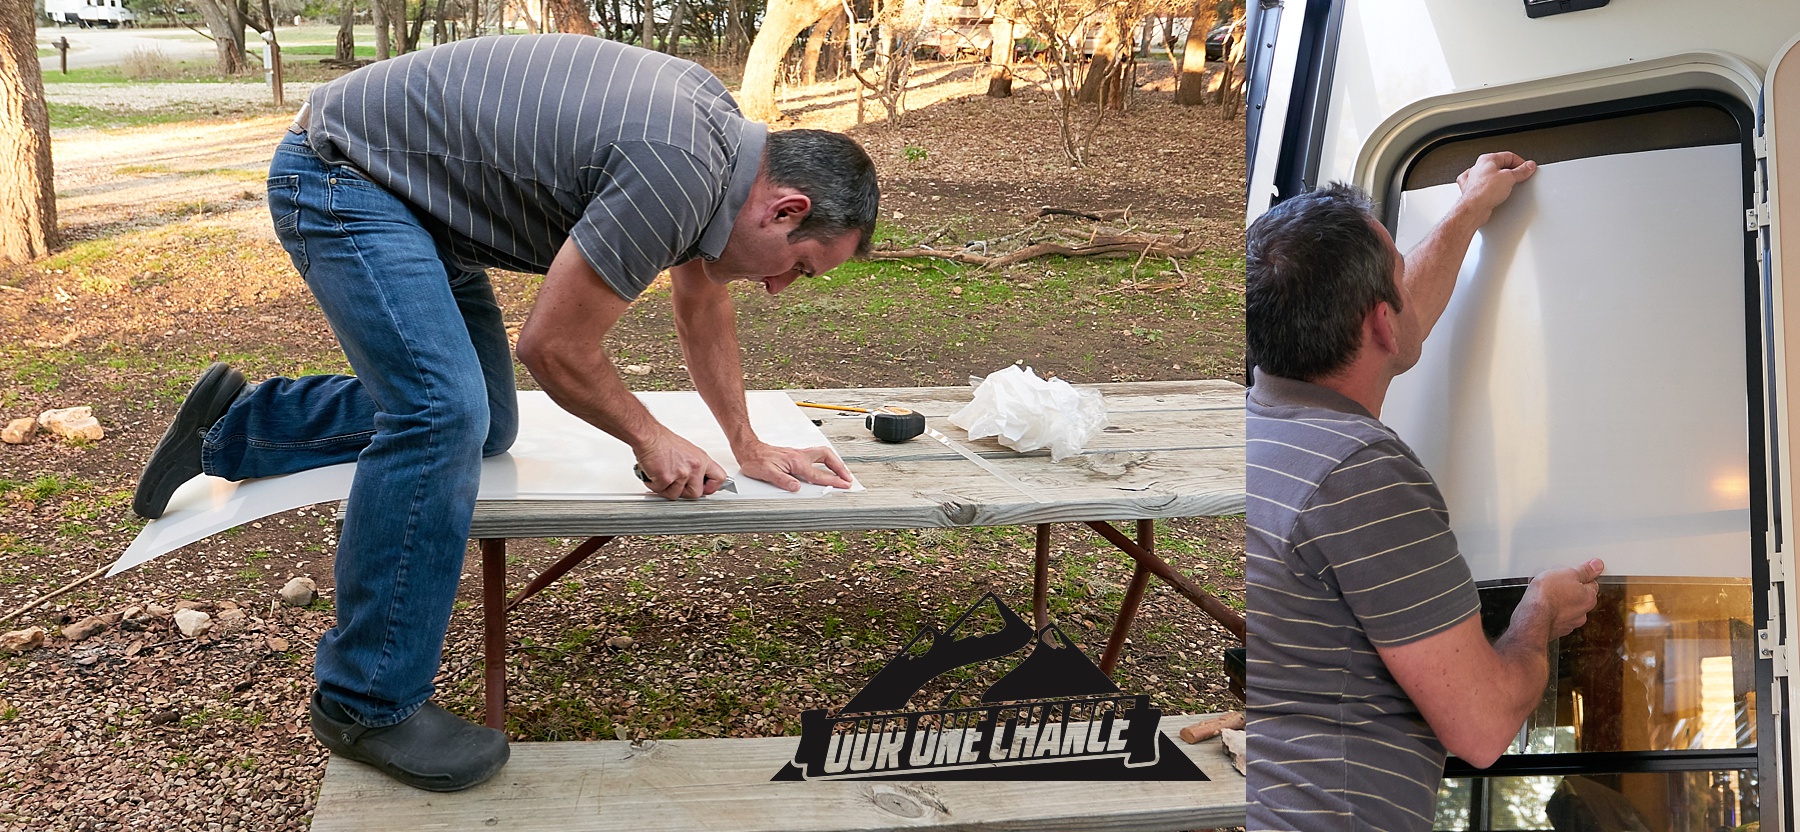 I lined the plexiglass on the outside of the door, taped it in place; then peeled back the screen to allow access to the plexiglass to write on. I wanted to write on the glass the curvature of the door. There IS a curved channel in the door so the curved part should be able to slide right up into the door.
 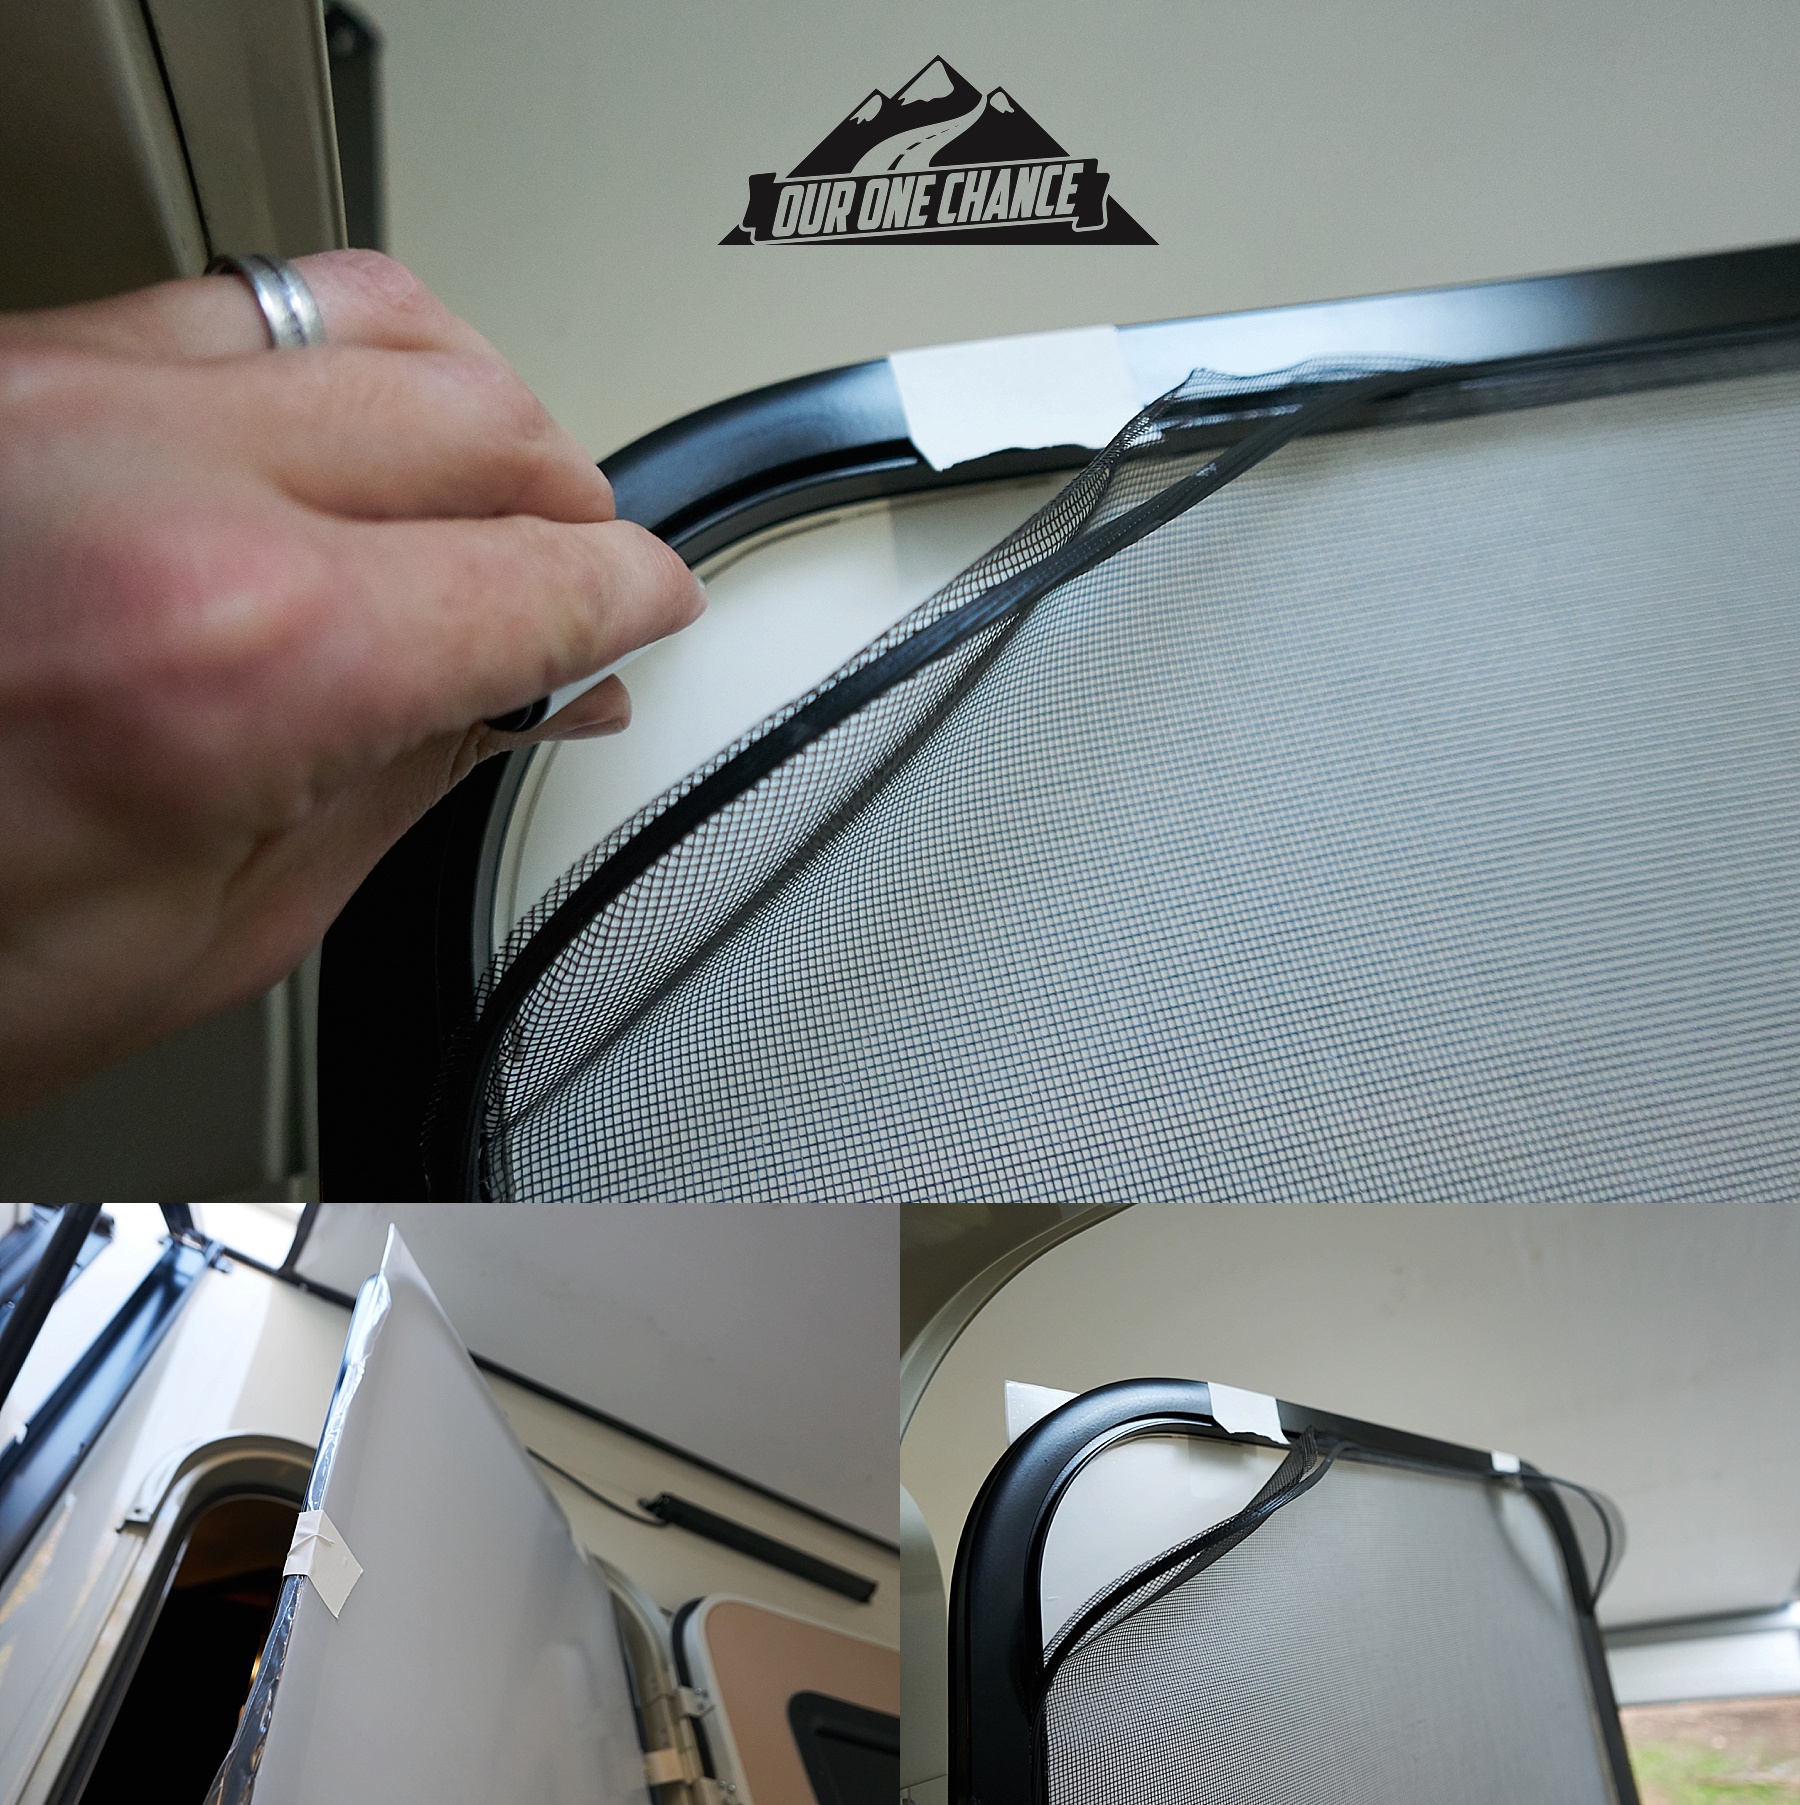 With a pair of Linesman Pliers I could snap the curve cut (still cut with a utility knife about 4 times) one inch at a time.
 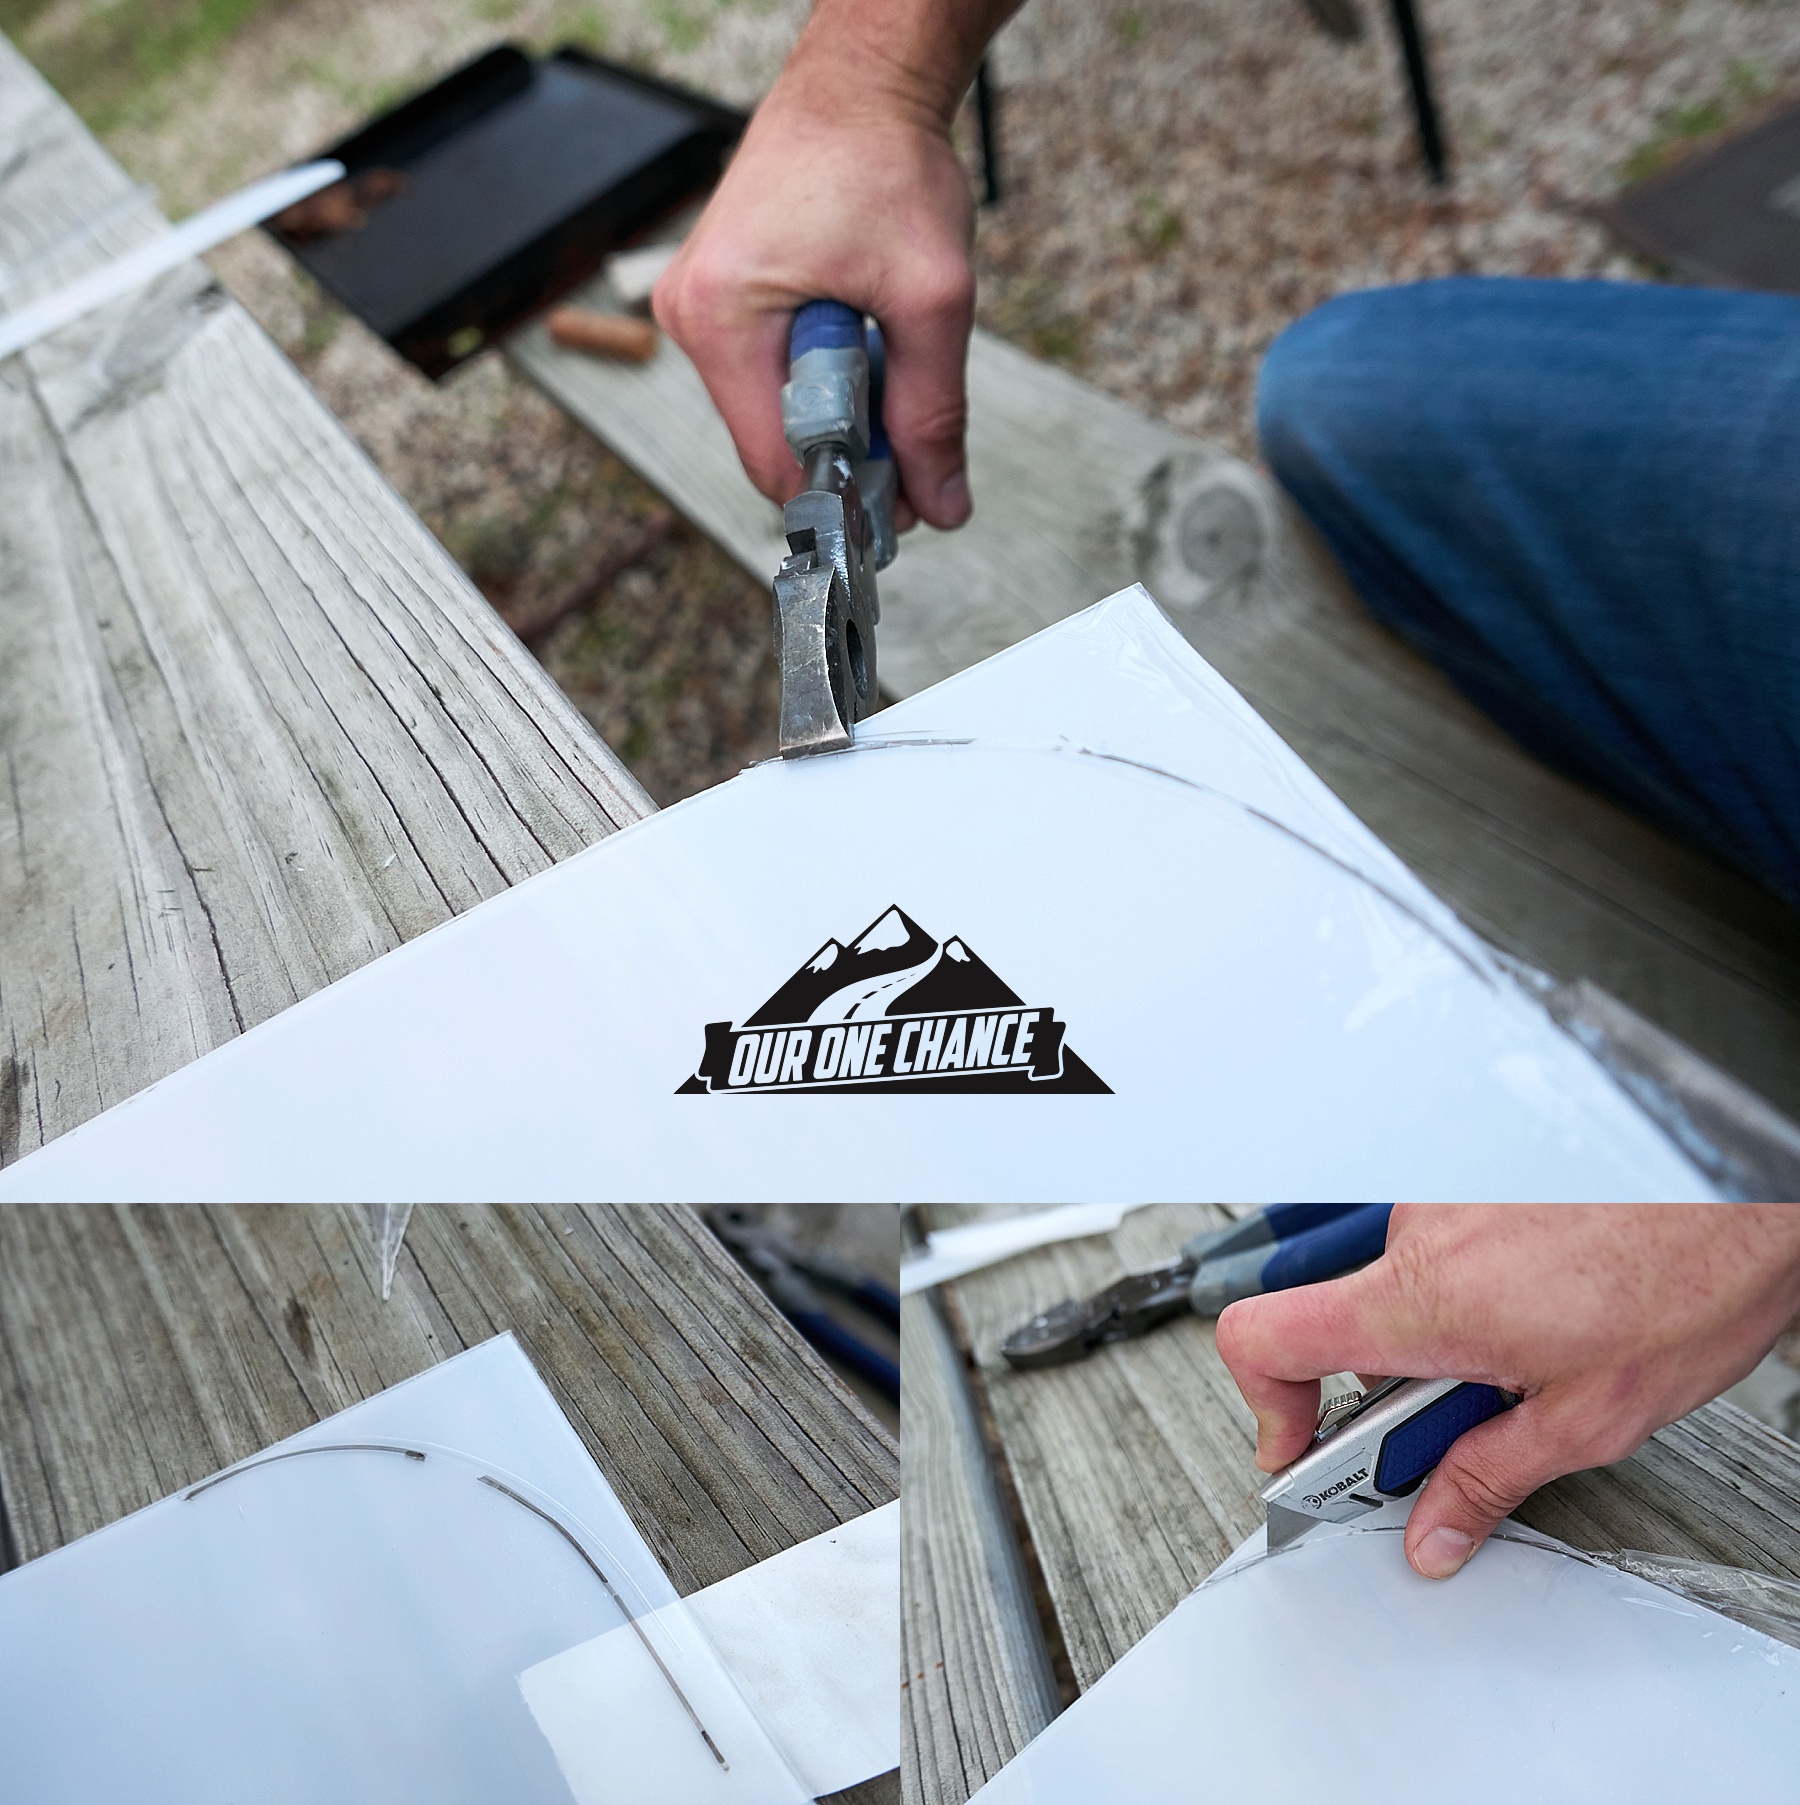 Peel off the front and back protective plastics…
 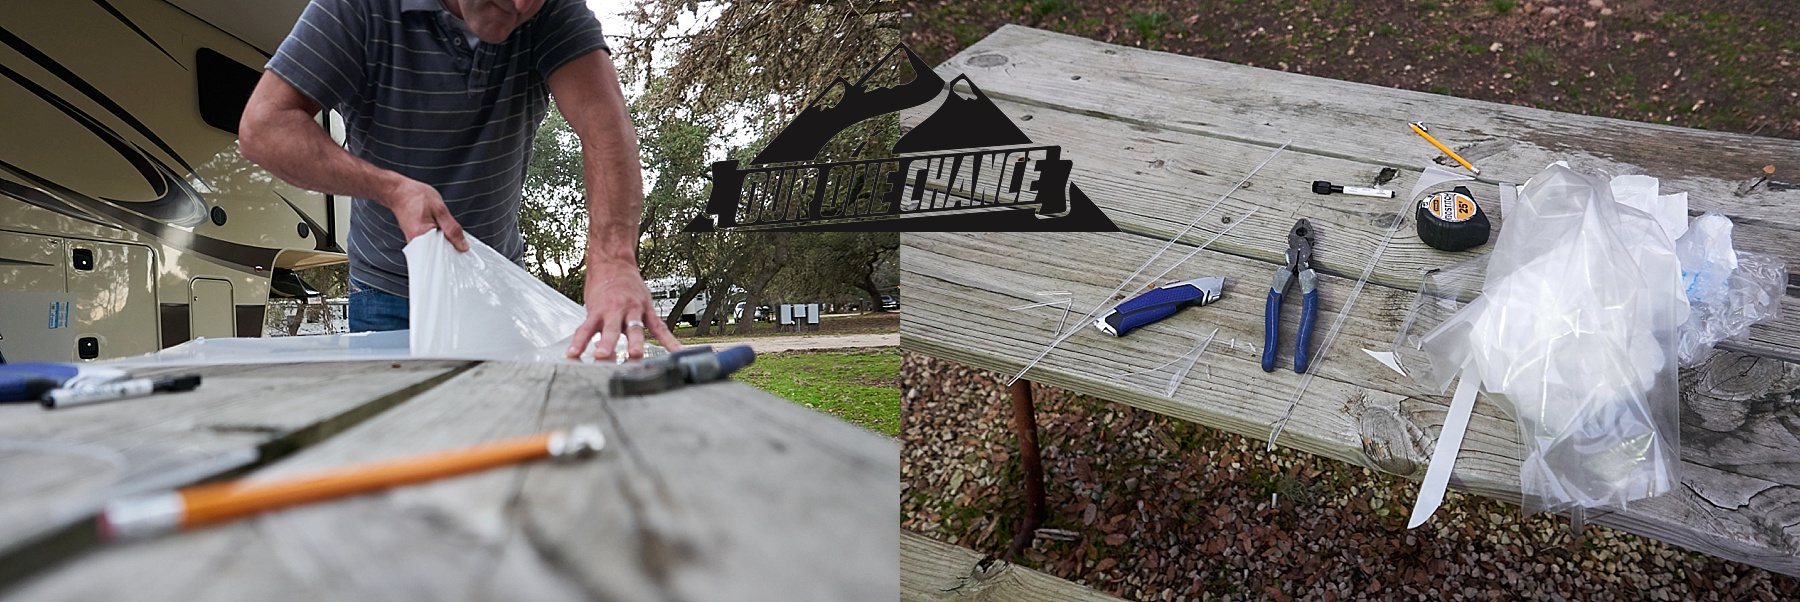 And BOOM. A cooler season plexiglass door option for RV’s
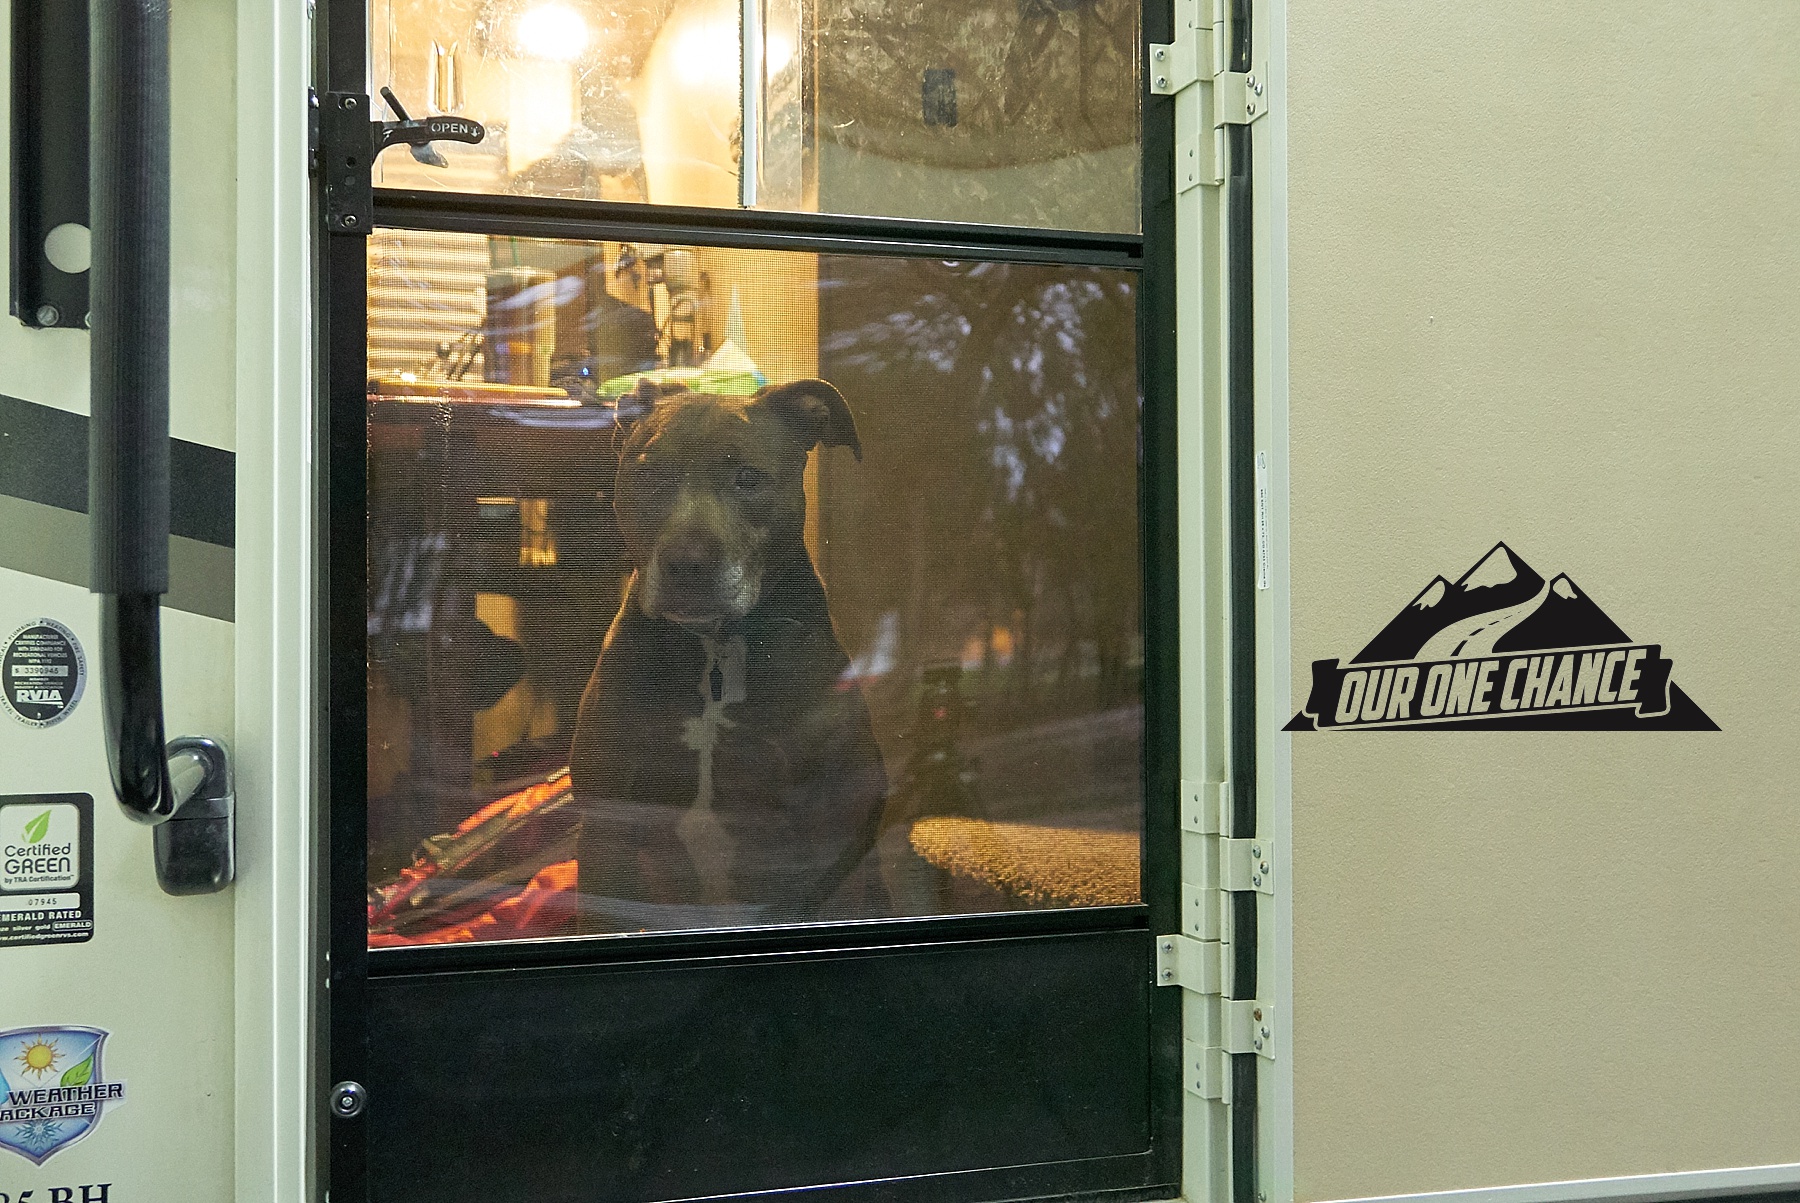
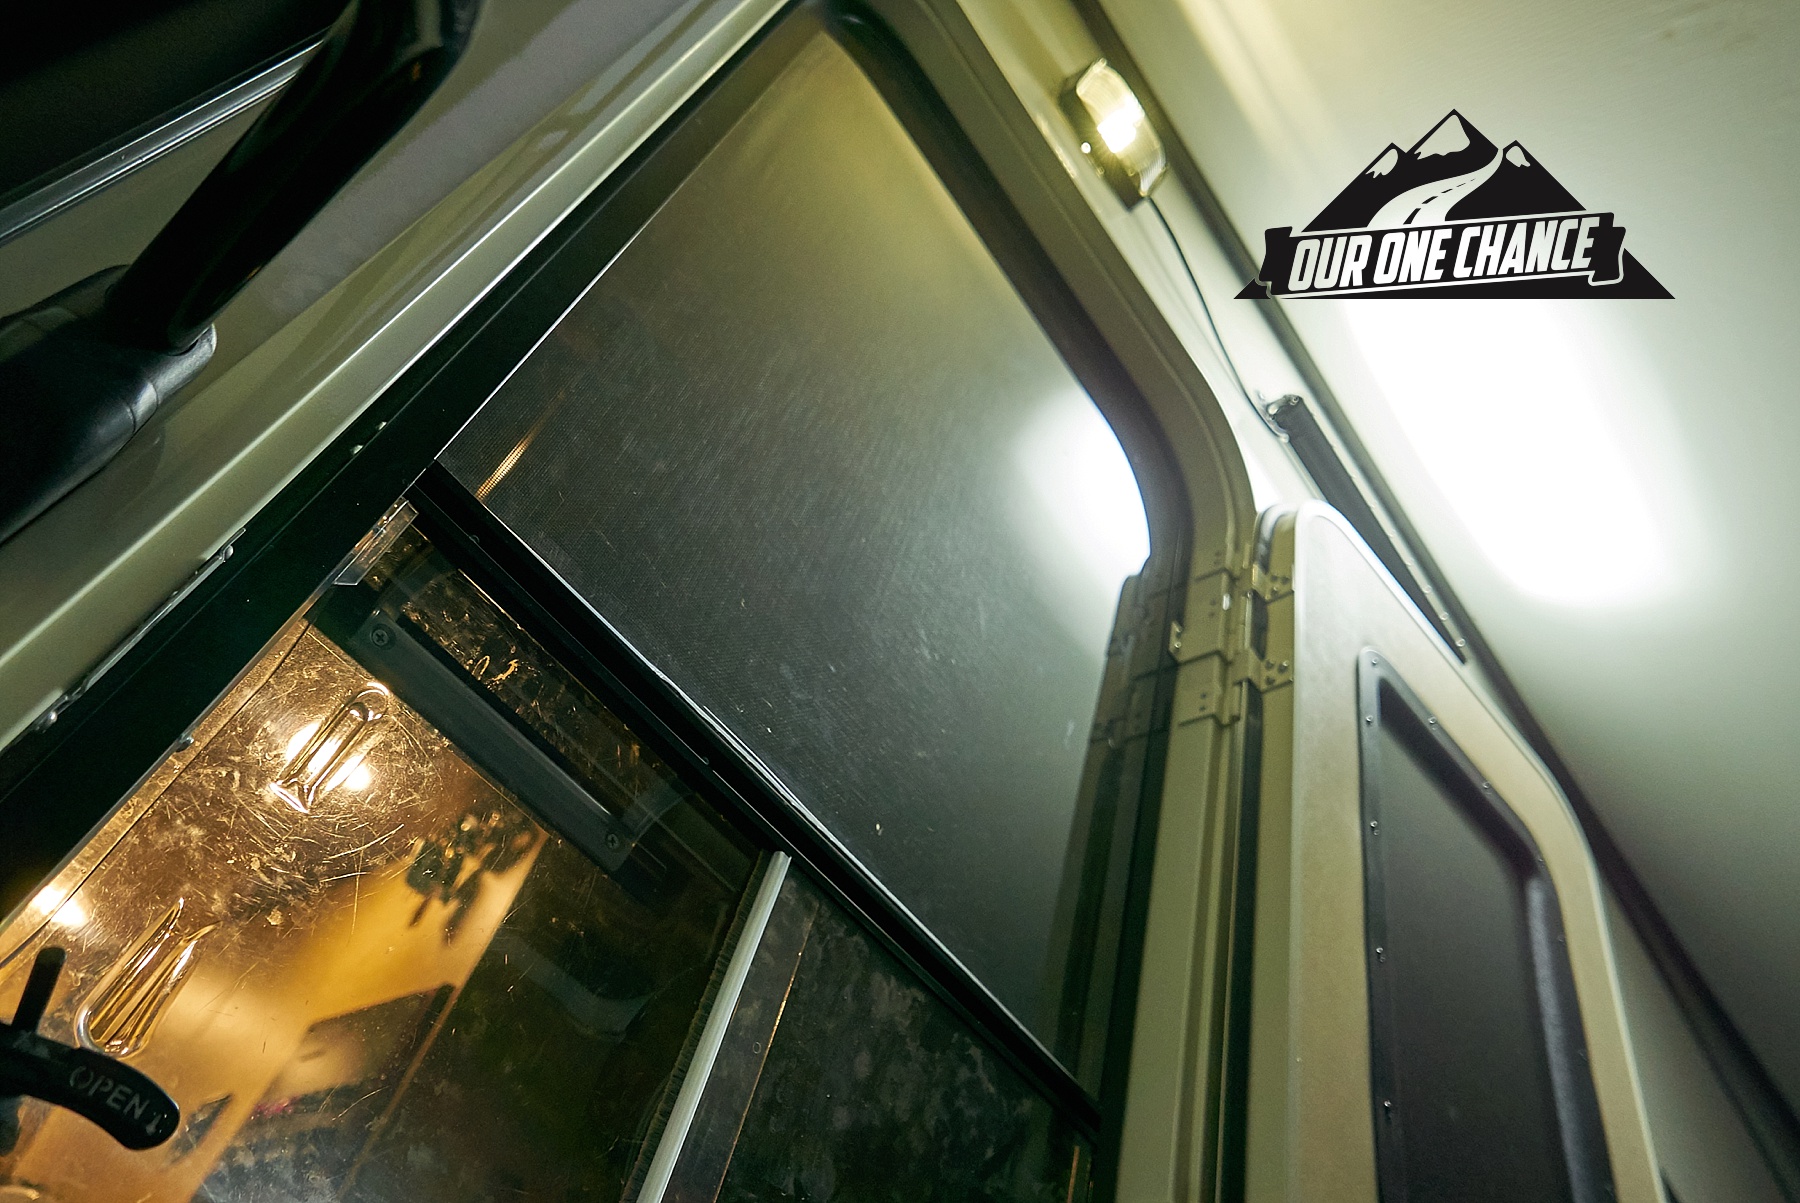
 Notice how nicely the top plexiglass slid into place. I can’t believe they don’t sell these.
  So tonight it is dropping down to the 40’s and I have the door open and everyone (Cole included) is loving it.